 Click the image above to visit Ruby’s post!
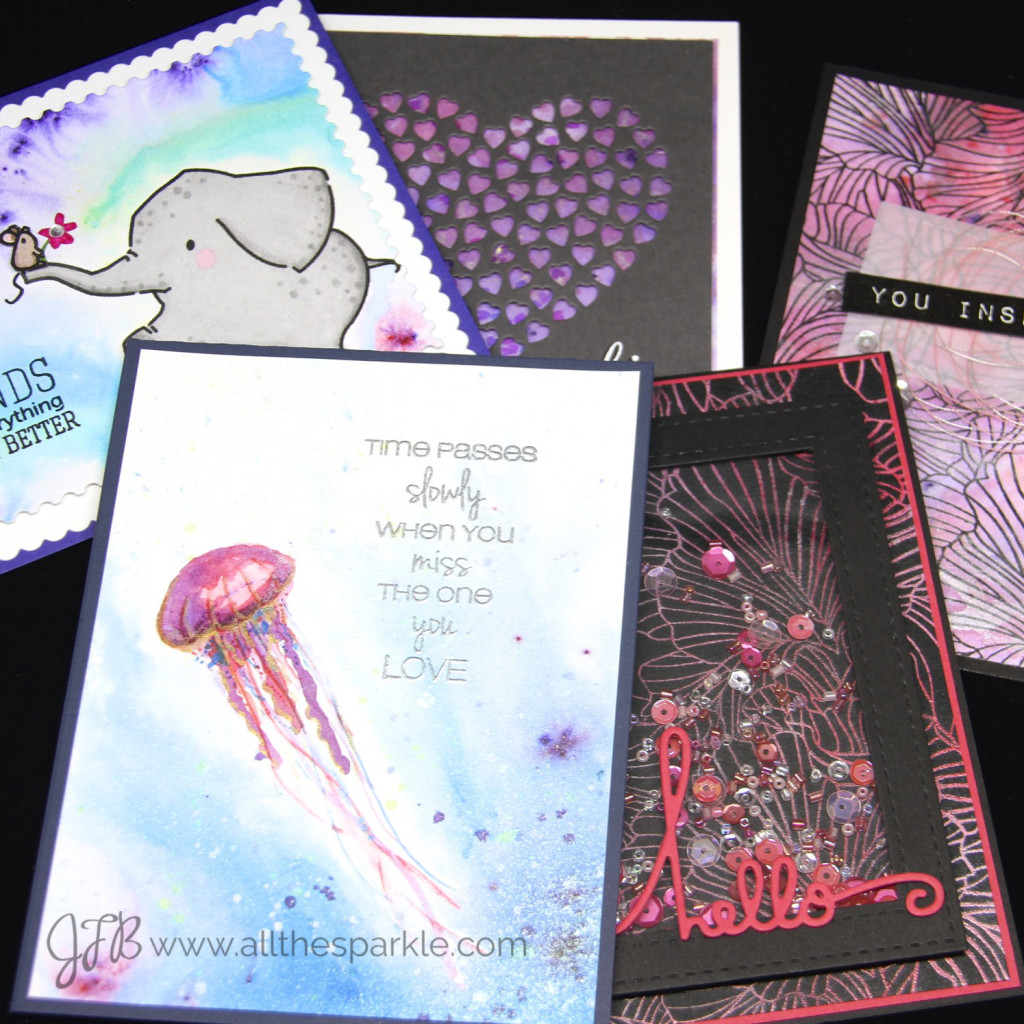
Good morning! I am super excited to be introducing a new collaboration with my very good friend, Ruby, of A Rare Ruby Crafts! A few months ago we were discussing our mutual love for various stamp companies and sets (#crafthoarders!) and were lamenting that there are a bunch of stamp sets that we both own but never have time to use. So we thought it might be fun to do a collaboration using the same stamp set to see what we could learn from each other’s creations! Ruby and I have similar design aesthetics but we usually express them in totally different ways! We discussed various ideas and ways to collaborate and as the summer went by our original idea evolved into Crafting Cues with Ruby and Jess! You can find Ruby’s post here!
If you don’t already know Ruby, you definitely should take the time to get to know her! She’s a fabulous crafter with a heart of gold. Truly, I have yet to meet a more generous, humble, and supportive crafter in this community! I admired Ruby’s creations for many months on Instagram and was super excited to finally have a chance to talk to her when I joined the design team for The Ton Stamps…ha ha, she messaged me first, I was way too nervous and shy to talk to her! 😉 Anyway, she’s amazing, innovative, and ridiculously sweet and if you’re not already following her on instagram, facebook, or her blog you should stop reading, go follow her everywhere, and then come back!!
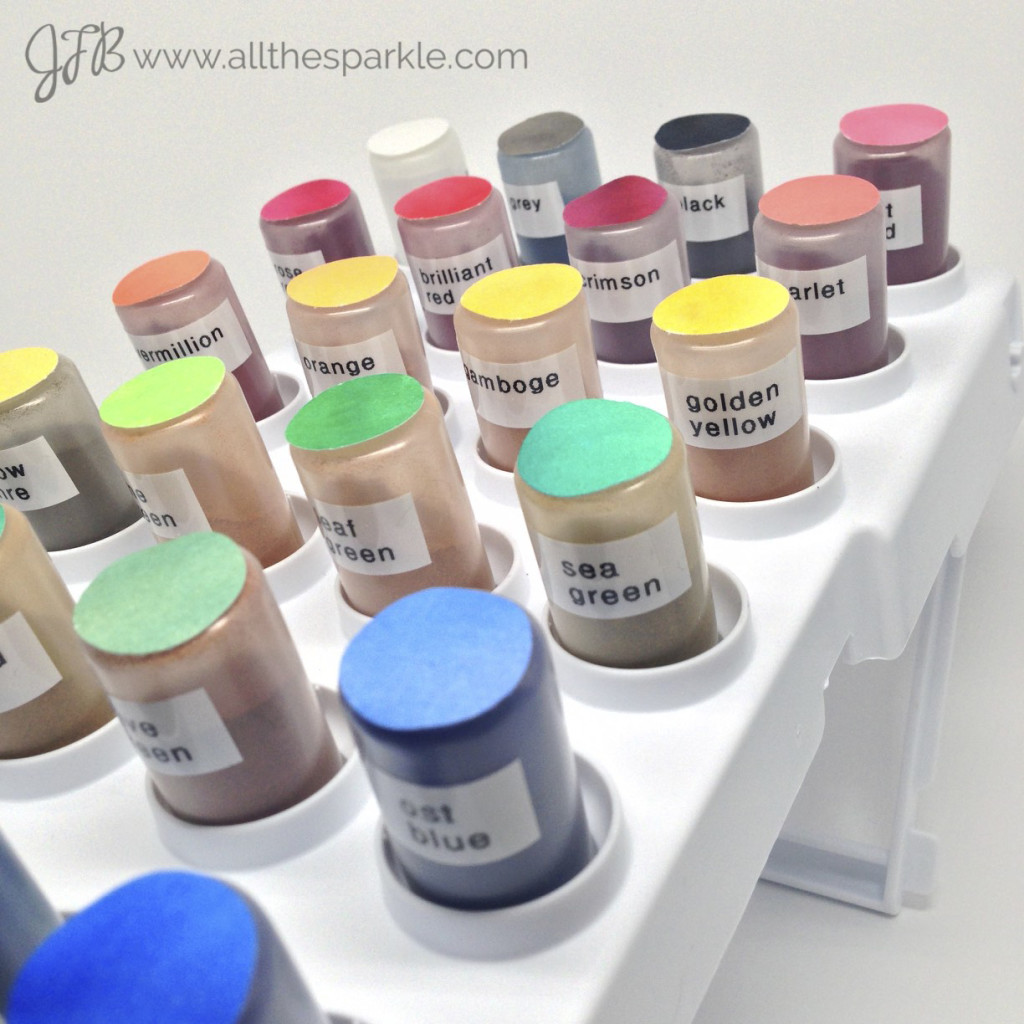
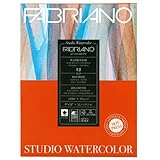
So, as I mentioned, our original idea evolved a bit and we decided to use Brusho watercolor powders for our first post! Earlier this summer, we both fell in love with the Ken Oliver Color Burst powders but were looking for more colors (ha, or at least I was looking for more variety!) and decided to give the Brushos a try! After looking at them online we decided to share an order and use a slightly different storage method! Brushos normally come in a small plastic container and most people poke a hole in the top to shake the powder out. However, I preferred the storage system of the color burst powders which is a small dropper bottle. Since we knew we were going to have to divide the powders anyway we decided to tweak the storage system at the same time! Ruby was kind enough to handle the funneling process and transferred all of the powders into these dropper bottles!
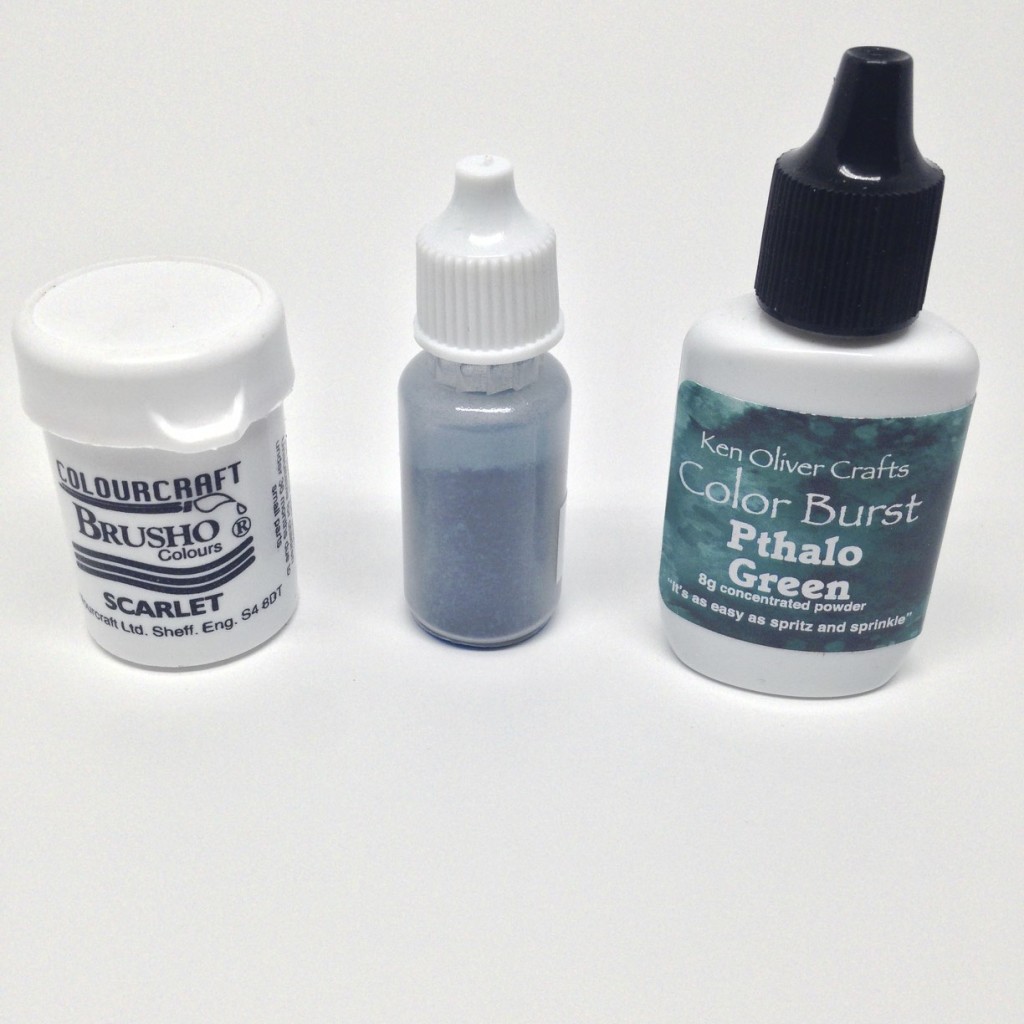
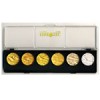
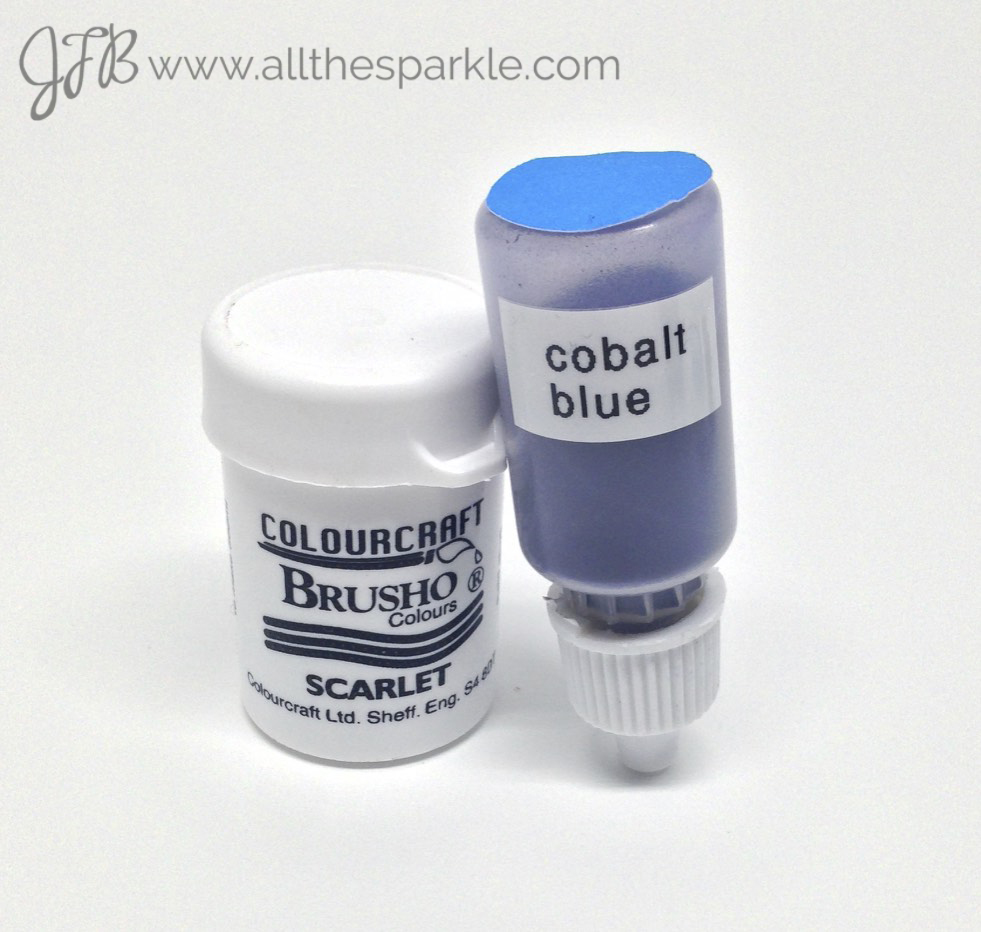 Since we were splitting the powder we used 10ml bottles but I’d recommend getting the 20ml if you’re not splitting them! I like the dropper bottles because, similarly to the Color Burst powder, I feel like you have a little more control (that’s a relative term, ha!) in where the powder goes and how much comes out! And just for reference, for those of you who have Color Burst powders, here’s a size comparison:
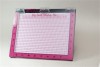
 I labeled each powder and stuck a watercolored swatch on the bottom of the bottle for easy color identification. My label is upside down on the bottle but that is so that it’s legible when in my storage unit! I wanted to find something that would hold all of the bottles and this Artbin tray is perfect! It’s intended for stickles or alcohol ink bottles so it’s a little bigger than my bottles; however they still fit nicely inside and the tray can be folded down and stored inside my Artbin container!!
 So, now that you’ve seen how I keep my Brushos, let me show you what I did with them! I decided to try a few different techniques and this is what I ended up with!
1. Sprinkled Background
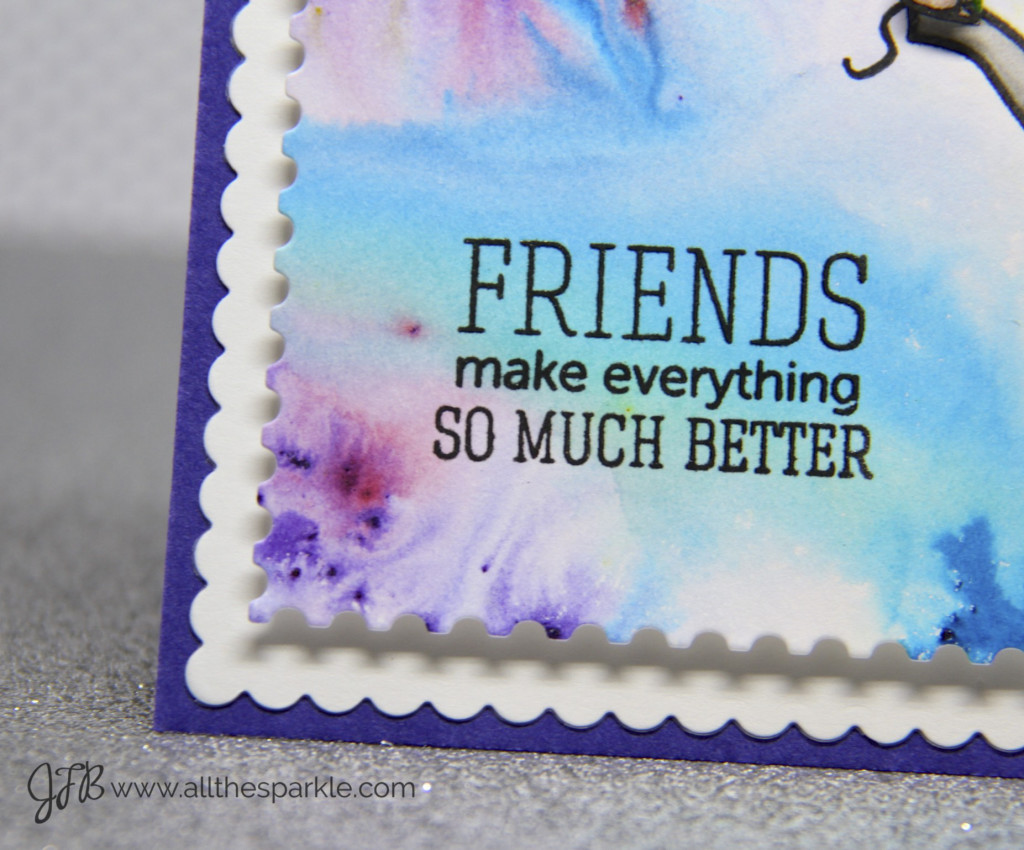
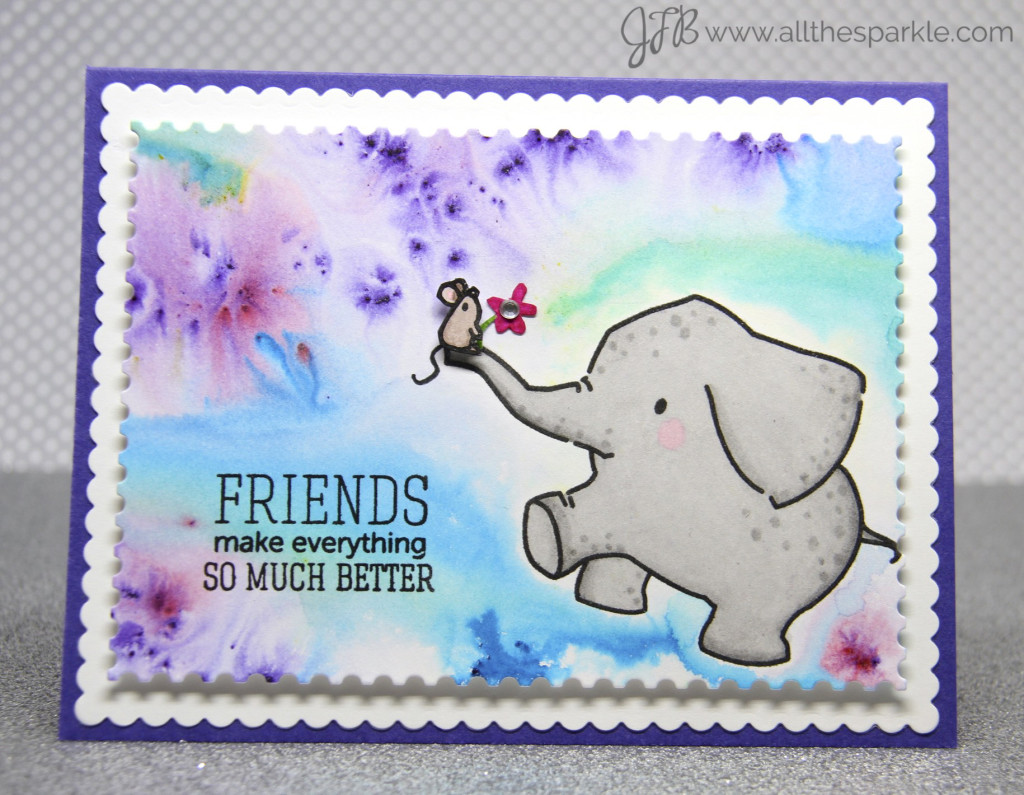 My first card shows the most popular technique and probably the one I am most comfortable with! I started off by stamping the elephant and sentiment from Ella and Friends (Mama Elephant) with versafine before heat-embossing them with clear powder. I colored my elephant with copics and then covered her with rubber cement. Once the rubber cement was dry I thoroughly wet the watercolor paper with water and then spritzed on several powders in shades of purple, blue, green, and red! As soon as the powder hits the water the color immediately spreads. For this card I simply tilted the paper around to let the colors move and blend. Because I didn’t use a lot of water (or a paintbrush) you can still see some of the powder crystals…I kinda like the effect they give!
 I let that dry naturally and then once it was totally dry I rubbed the rubber cement off of the elephant. While it was drying I stamped and heat-embossed the little mouse from the same stamp set and cut him out with my Scan N Cut! I also stamped, colored, and cut that little flower from a Lawn Fawn stamp set. I die-cut the panel with the reverse scalloped edge and then adhered the mouse and flower with foam mounting tape. I added a little crystal embellishment to the center of the flower and then mounted the panel onto a white, scallop edged panel. That panel was adhered to a dark purple cardstock base to finish the card!
This is a fun technique because you’ll NEVER get the same results twice! I actually created a few more backgrounds while I was working on this one and I’ll share some of those another time!
2. Swiped Background
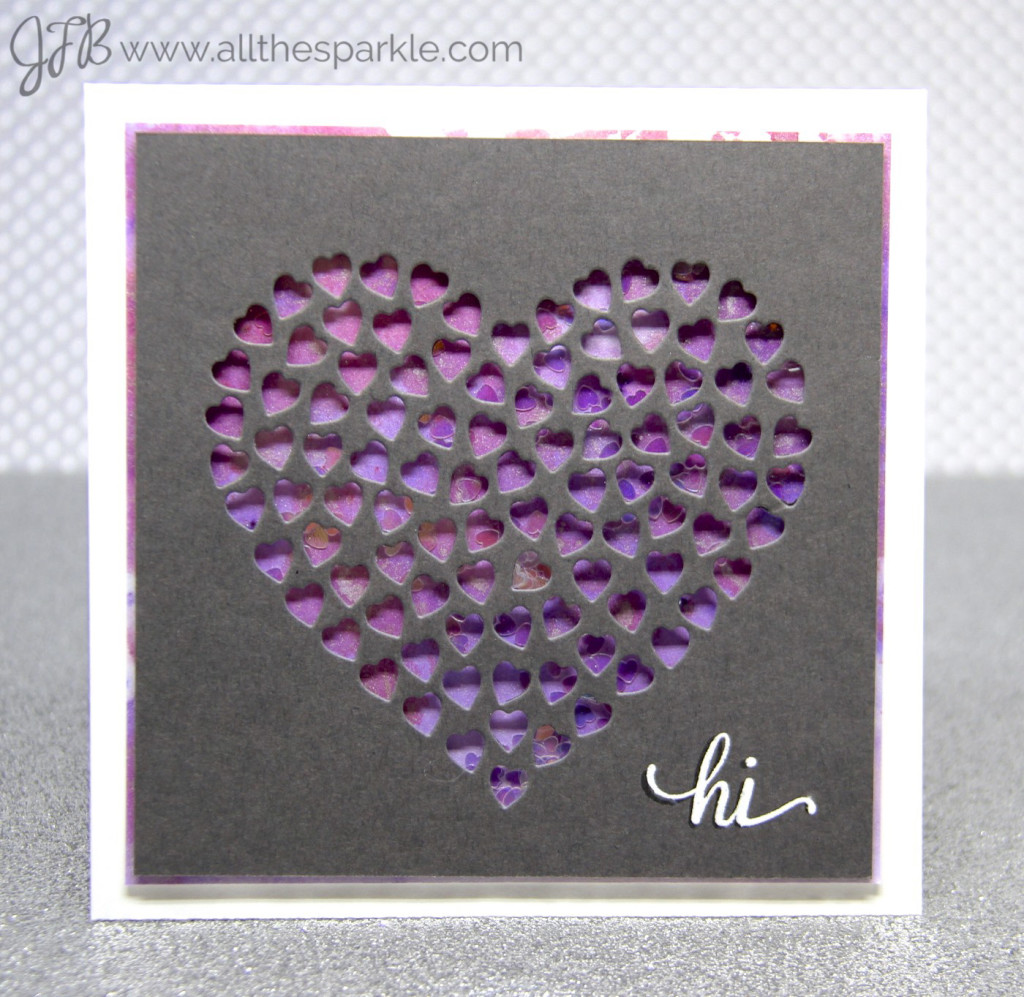 For my second card I did a variation of acetate smooshing! I sprinkled several powders onto my craft sheet, spritzed them with water, and then dragged a piece of glossy cardstock through the wet paint. It swirled onto the cardstock in very pretty impressionistic patterns. Because it was glossy cardstock the paint moved very smoothly across the panel so there were no hard lines anywhere on the page. Once the panel dried I cut it down to a square and then die-cut the Memory Box Heart of Hearts die from a square of dark grey cardstock. I glued a piece of acetate to the back of the grey cardstock and then filled the shaker with tiny iridescent hearts from The Ton! I added a border of foam mounting tape and then closed up my shaker!
 For visual interest I left a tiny border of the glossy cardstock visible around the edge of the shaker. The sentiment was stamped in black and white pigment inks and heat-embossed in clear powder. Finally I adhered the shaker to the white card base! This was a fairly busy background and I like how the die-cut allows you to just see peeks of the watercolor background! Of all the cards this was probably my least favorite but I’m not quite sure why…just didn’t grab me like the others did…
3. Acetate Smooshing
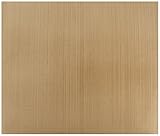
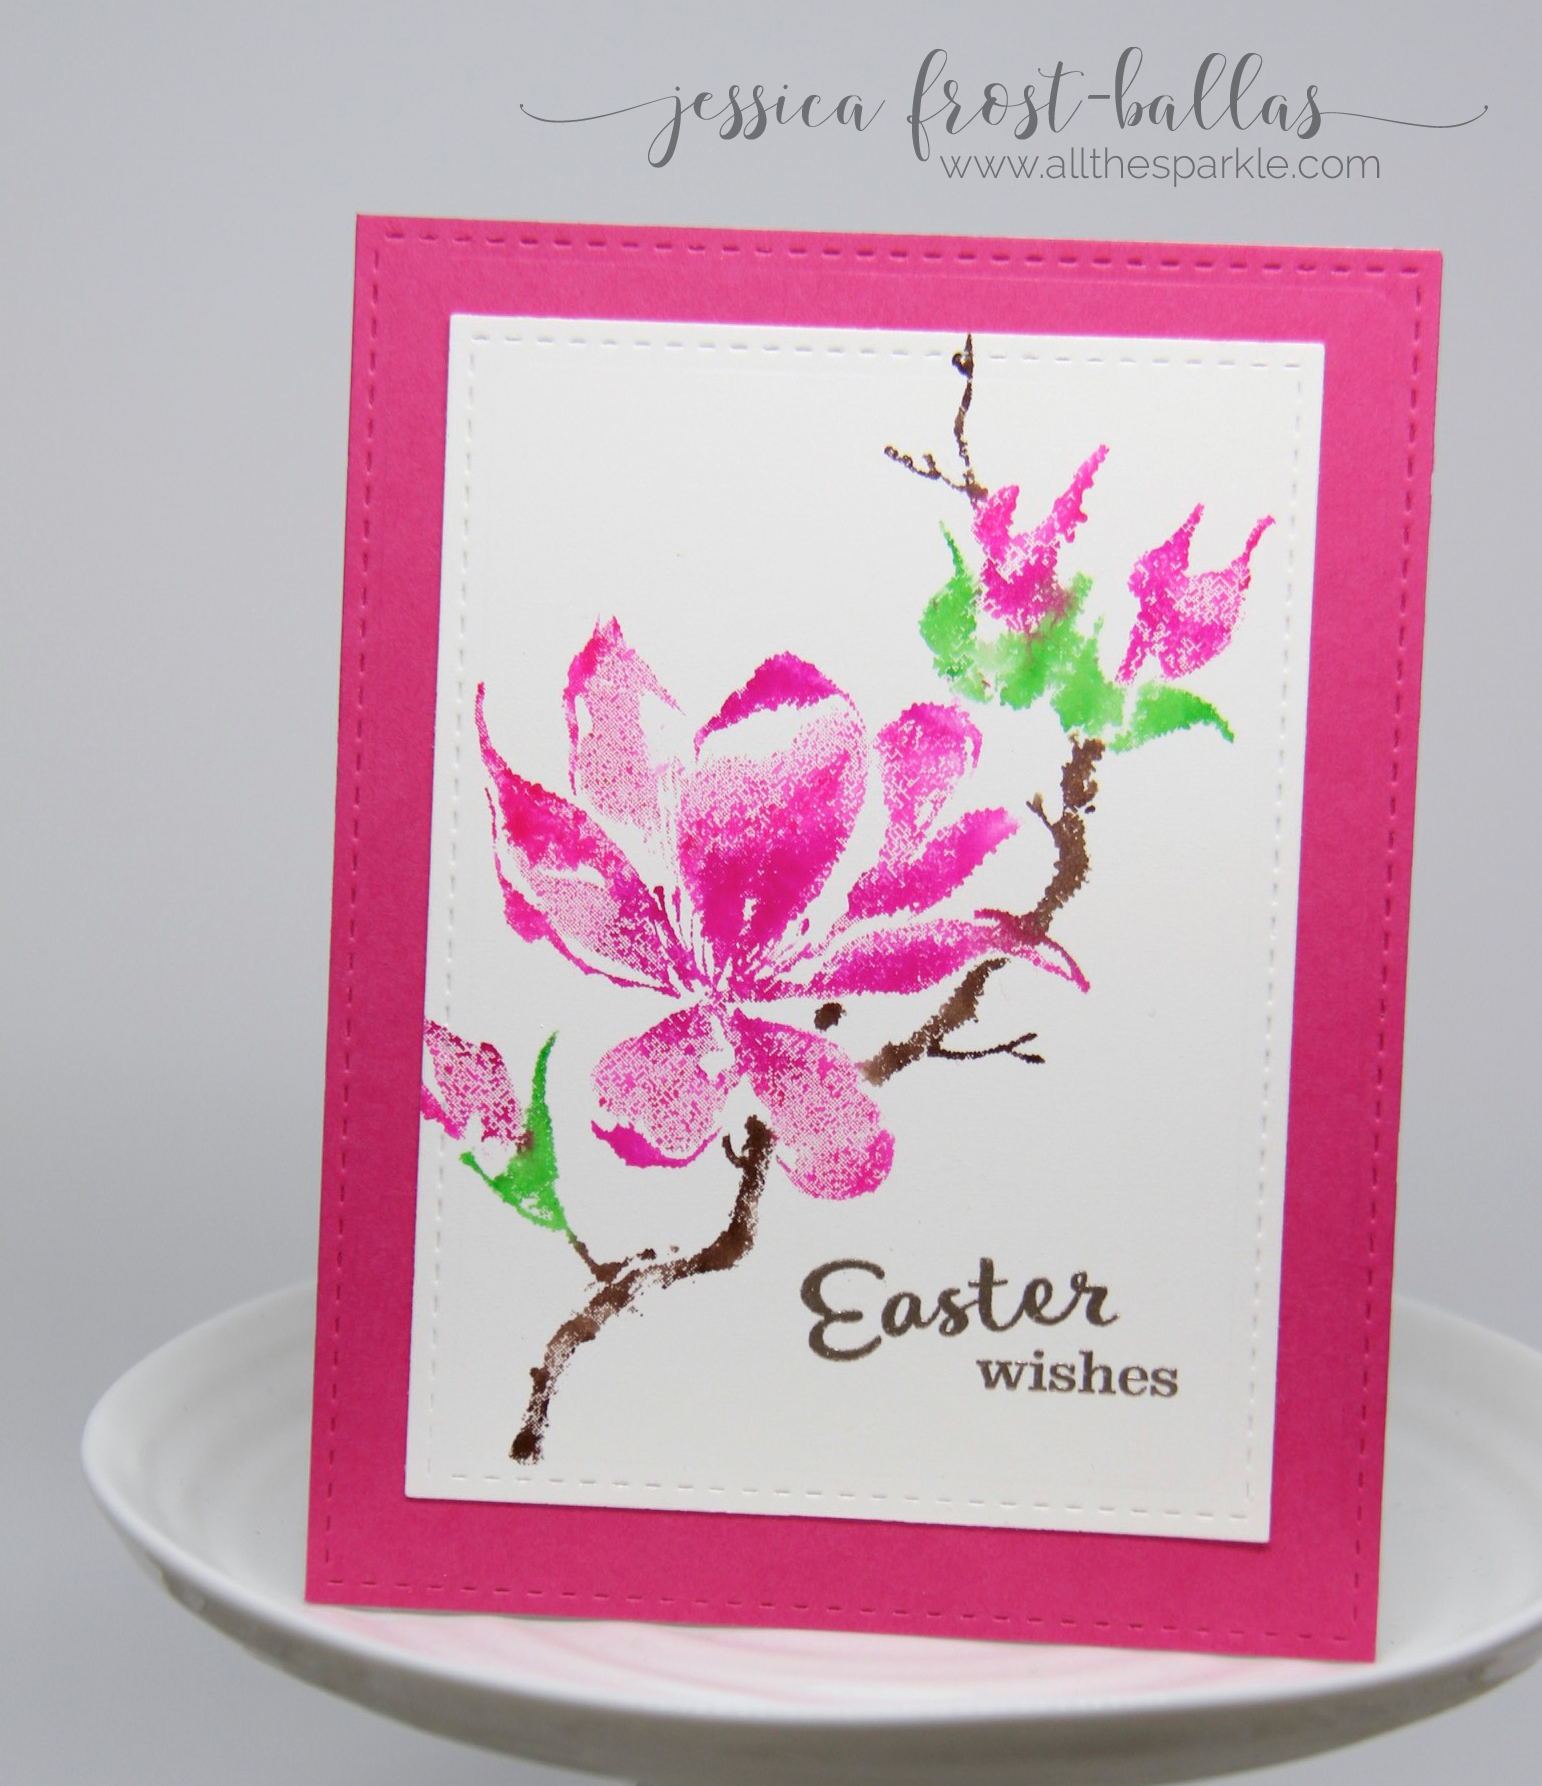
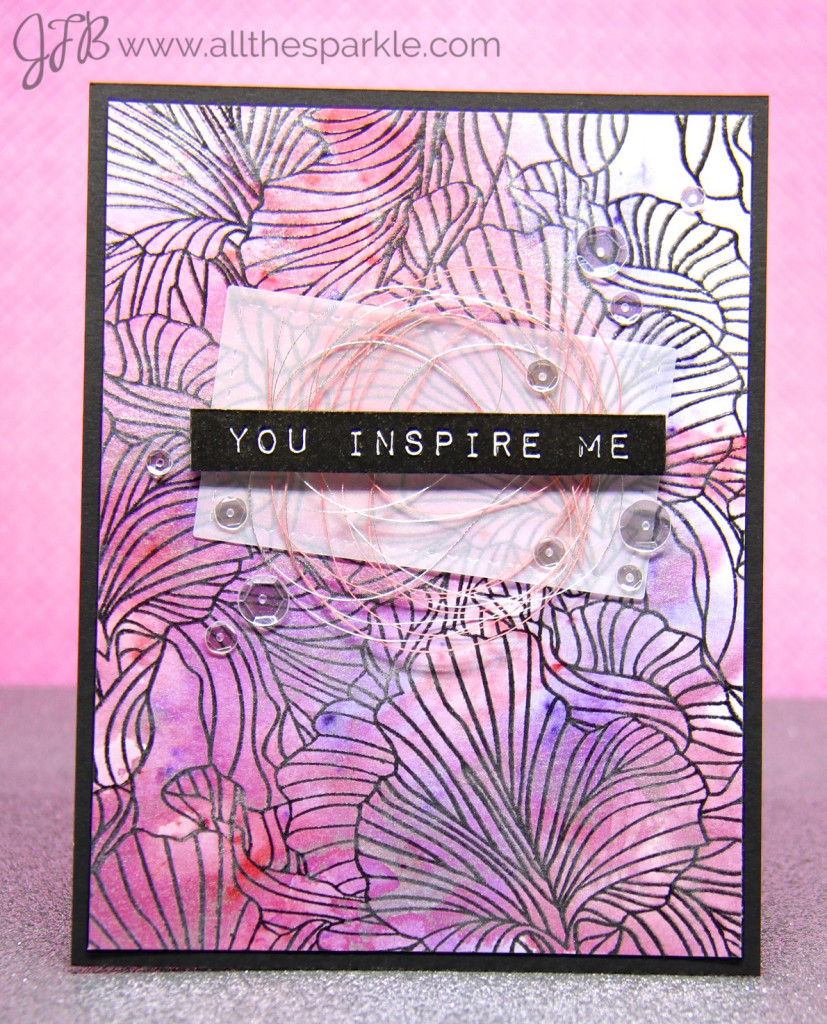 If you’re a regular reader you’re used to seeing acetate smooshing around here and I couldn’t pass up the opportunity to try it with the Brushos! This is also the card I made specifically with Ruby in mind! For this background I started off by sprinkling various powders onto my craft mat and spritzing them thoroughly with water. I wanted a softer background without visible crystals so I added a lot of water to the powders so they would dissolve completely. I also decided to sprinkle in a little Pearl EX micropearl powder for a little more shimmer! Once everything was totally dissolved I used a piece of acetate to transfer the paint to my watercolor paper. I did a couple smooshes and then dried it with my heat gun. I did this several times until I was happy with the coverage.
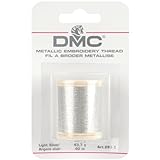
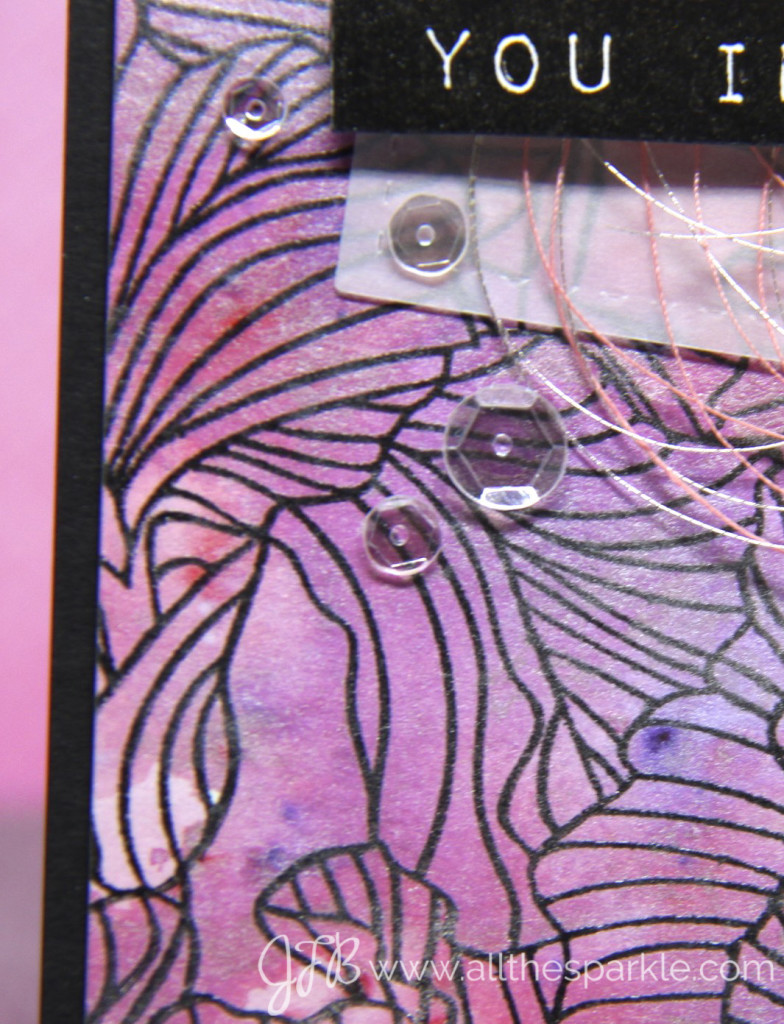 Once that was dry I stamped the Etched Flower background stamp from My Favorite Things with versafine and heat-embossed it with clear powder. At the same time I also stamped and heat-embossed the sentiment from Altenew’s Label Love. I die-cut a stitched rectangle out of vellum and adhered it to the card front with vellum tape. Next I swirled pink and silver thread on to the vellum and then adhered the fussy cut sentiment with foam mounting tape. To finish the card I added a sprinkling of Glass Slippers sequins from The Ton and mounted the watercolor panel to a black cardstock base! I really like how the Brusho background turned out on this card, especially with that gorgeous background stamp! In fact I liked it so much that I used a similar idea and the same stamp for my next card!
4. Brush Blended Background
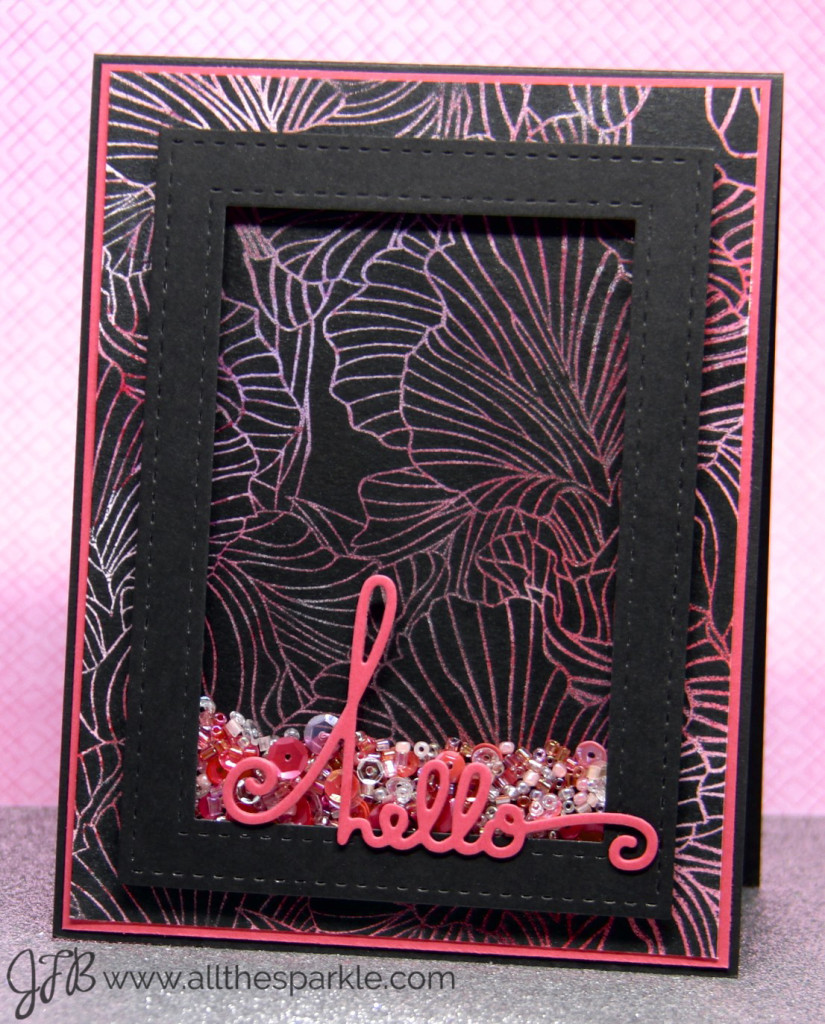 Of course there had to be another shaker! 😉 I wanted this card to be slightly darker than the previous card so I used darker shades and a little less water! I thought about doing acetate smooshing again but then decided to try a different technique (just for the sake of experimentation)…so for this card I simply taped my watercolor paper down to my work surface and used a large paintbrush to paint the colors onto the dry paper. Once the colors were dry I added a wash of Pearl Ex micropearl powder dissolved in water for a soft all-over shimmer. Then I made a mistake…I was intending to heat-emboss the stamp in white embossing powder for a different look but I accidentally grabbed the clear powder and didn’t realize my mistake until I was in the process of heating the powder. I thought about a tone on tone look and then decided it wouldn’t really stand out. I was about to throw out the panel when I remembered the Joseph’s Coat technique! If you’ve never done this…it’s a really fun technique to try! I temporarily adhered my panel to my work surface and then smeared a Memento tuxedo black ink pad ALL across my background until it was totally covering the unembossed sections of my paper. At this point the embossed sections will be pretty dreary looking, too but don’t despair! Just take a dry paper towel and rub it over the panel…it won’t lift the ink off the paper but it will clean the ink off of the embossing!
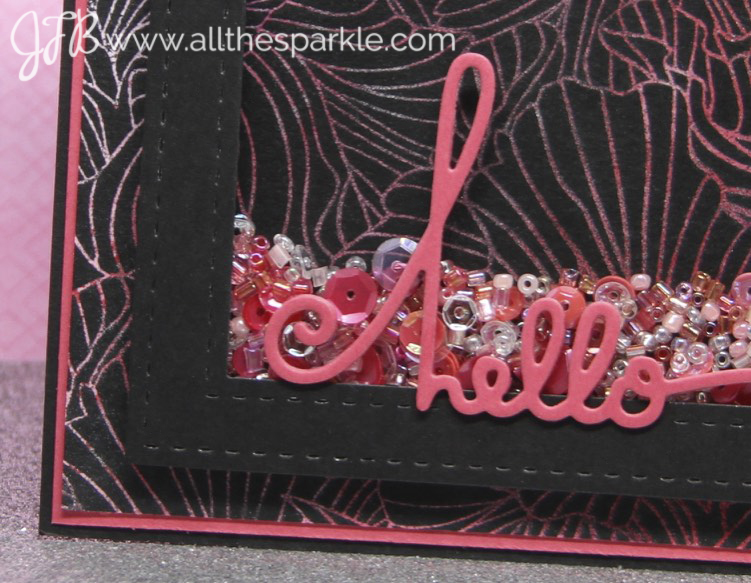 Isn’t that a pretty look?! And so different from the previous card! It totally changes the effect of that stamp!! Anyway, I die-cut a stitched frame and filled it with sequins and beads from The Ton to create my shaker. I adhered that shaker directly to my card but left a border for more of that stamp to peek through! I added a few cardstock frames behind the shaker and then die-cut the sentiment from Paper Smooches twice and adhered that to the front of the shaker to complete the card!
5. Watercolor Painting with a Spritzed Watercolor Background
Okay, so I went back and forth about posting this card but finally decided to just go for it! So please don’t laugh…this is my very first attempt at freehand watercoloring anything.
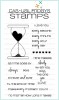
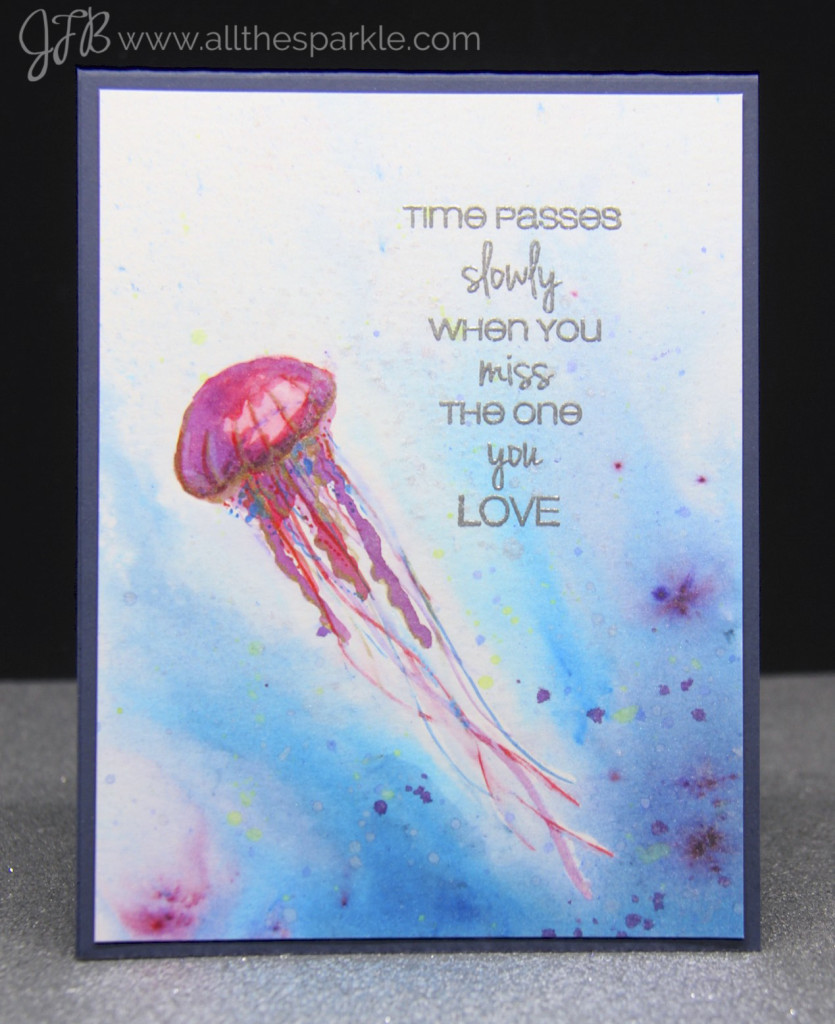 I recently bought that CAS-ual Fridays stamp set from Ruby’s destash sale and I knew I wanted to use it but I wasn’t quite sure how. Then yesterday I flipping through the TV channels and stopped briefly on a show about jellyfish (random, I know…). But there was a short clip of a jellyfish languidly drifting through the water and I immediately thought of that sentiment. Ha ha, maybe it’s just me…it’s probably just me…but I couldn’t get it out of my head. I have a jellyfish stamp that I love but it seemed too whimsical for the sentiment…so I decided to try painting!
I won’t go into all the details but basically I created a palette of purples and reds and one blue by sprinkling the powder onto my craft sheet and spritzing it with water. I used a tiny paintbrush and just added lots of layers drying it with my heat gun between each color. I also added a little bit of gold with my Finetec palette which really is probably my favorite part! Once that was completely dry I covered it with rubber cement to mask and protect it while I worked on the background. For the background I sprinkled on blue powder and then tilted my work surface before spritzing it with water so that the paint would run along the sides of the jellyfish. I used a lot of water and did a little blending with my paintbrush so the background would be a little softer. Then I added flecks of different colors and few sprinkles of powder for interest and depth. I finished the background with a few spritzes of Hero Arts silver shimmer spray! I let the whole panel dry and then rubbed off the rubber cement on my jellyfish. I stamped the sentiment with versamark and heat-embossed it with silver powder before adhering the panel to a dark blue cardstock base.
I am happy that I made myself try a new technique but man was it stressful! Ha ha…it’ll be awhile before I attempt that again!
Giveaway
Ha ha, you made it to the end (or you scrolled down to the bottom…ahem) and because you took the time to visit our blogs and read our super long posts, we are offering one lucky random commenter a $20 gift card to Jerry’s Artarama since they carry the Brusho Crystal Colours. If you’re a new customer, you can sign up for an extra 25% off coupon (free shipping on orders over $59!). The only requirement is that you leave a comment on both Ruby’s and my blog post to qualify to win. We’d love feedback…what would you like to see us use?! This first post was definitely a bit overambitious but we promise to work on that for next time. 🙂 We just get really excited….ha. Thanks so much for visiting! We love you, too!
Supplies
Interested in the products I used? To make them easy for you to find, I have listed them below. (Affiliate disclosure can be found here). Your purchases help keep my blog running and I thank you for the support!


WOW! I’m so glad we keep it a surprise from each other as well because I’m amazed at all your creativity! I love that we both basically said the same things about each other and ended up writing really unique posts. You rock! I love all the cards and how you explained them. I’ll have to try some of them… so proud of you for trying new things! Thanks for everything, Jessica. Happiest of birthdays to you!! <3
Lovely cards! I can see how you two ganging up on me are going to cause me to spend money….ha! Such talent you two have.
Love that you and Ruby (that was my mothers name!) have challenged each other and inspires me to step outside the box!!!
WOW! Amazing and awesome cards!! Love the watercolor powders! So fun!
Absolutely gorgeous!!! I5t makes me want to play and get inking!!!
OH My goodness. That jelly fish is so beautiful. You did such a good job. I’m so loving these colors.
PS Have a great birthday!
sweet ! i love all these cards and what is there to laugh about with that awesome jellyfish you drew? i love it and it fools me a bit with how it looks as it seems to be shining in the light with gorgeous rainbow colors around it.. sweet…. that is my fav parallel to our Lives for using the word light in your sentiments.. idea? “thanks for lighting my path”… i use this sentiment in my courage cards… you got me inspired all right … all the best to you. i dont think either ruby or you will lack in inspiring us! 🙂 email address in case its needed… ask catherine pooler for “glow”s address.. she knows.. thanks for the chance to win:)
I love the final results and all of your creations are so innovative! Love that watercolored powders and how you put the label under the bottle! I totally adore your jelly fish creation and first one too, Super Cute! Thanks for sharing and Ruby too!
by the way, jess… a lil birdie told me today is your birthday… may it be a shining happy one… i wish you a successful year..and many more.. with love from one of many who is subscribed to your blog here:)
I LOVE the jellyfish! I spied it from afar and followed it back to your blog! All of your cards are so inspiring.
Beautiful cards!!! Love the effects you get from the brusho watercolors.
Very cool cards. Jess, don’t sell yourself short, you do magnificent work and very talented.
wow your cards are absolutely beautiful! thanks for this amazing chance to win!
First, Happy Birthday!!! We must have watched the same program and seen the Jellyfish, they are so dainty and so mesmerizing to watch in the water. Your card and Jellyfish is gorgeous, I dont know why you didnt like it. Your MFT flower cards are both so pretty and loved seeing the technique with the black memento ink, never heart of that before, thanks for sharing, it looks beautiful.
Happy Birthday! Love the jellyfish and all your fun ideas! I’ve wanted to try these and you inspire!
This was enlightening. I have brusho’s but am a little unsure what to do with them other than spritz, sprinkle, spritz again. So nice to see your different techniques. I am off to do some smooshing. Love the jellyfish. Hugz
Great cards! I’ve been thinking about using these powders and now that you made it seem easy, I think I will!
I’ve really been wanting to try these powders! Your cards are gorgeous, that jellyfish is so pretty!
Gorgeous effects! Have not seen these before, so really interesting to see all the different ideas to use them! I’d love to try them out!
Since the Zig Clear Color brush markers are so popular, I’d love to see you collaborate with Ruby on a post featuring them!
Happy Birthday to you! Have a special day!
How nice to have someone to split those brushos with I love that you found bottles like the ken oliver color burst. Wonderful cards came out of this fun new product. Thanks for sharing
First, Happy Birthday to you!
Second, Congratulations on an amazing release:)
Third, Looks like you had FUN with your Brushos…The cards your are sharing today are so very different from Ruby’s…LOVE the softness that you achieved with the colors..everything I have tried with my powders turned out so intense…I did not know that adding more water would create a more subtle saturation. Thanks for the tips:)
I love brusho. They are on my list to buy. Thanks for such a great list to start exposing them with. I love the idea of using things you have but have not really explored.
I enjoyed all of your artistic attempts with Brushos. The jellyfish wins in my opinion! Did you stamp the jellyfish first? It is so beautiful and has motion. I would like to hear more of an explanation of how you did this card. I love Brushos and keep going back to them for more cards. Thanks for the great tutorials.
Happy Birthday!!!! Hope you get spoiled today! And what a fun collaboration you have going on with Ruby! I follow her too so I’ve already left her some love. Your Brush backgrounds are beautiful! You made so many awesome cards! I was trying to pick a favourite – I think the final two are my picks.