Good morning! Don’t forget to check out my Crafty Destash Sale here! There’s still lots available from companies like Stampin’ Up, Hero Arts, Mama Elephant, Avery Elle, and more!
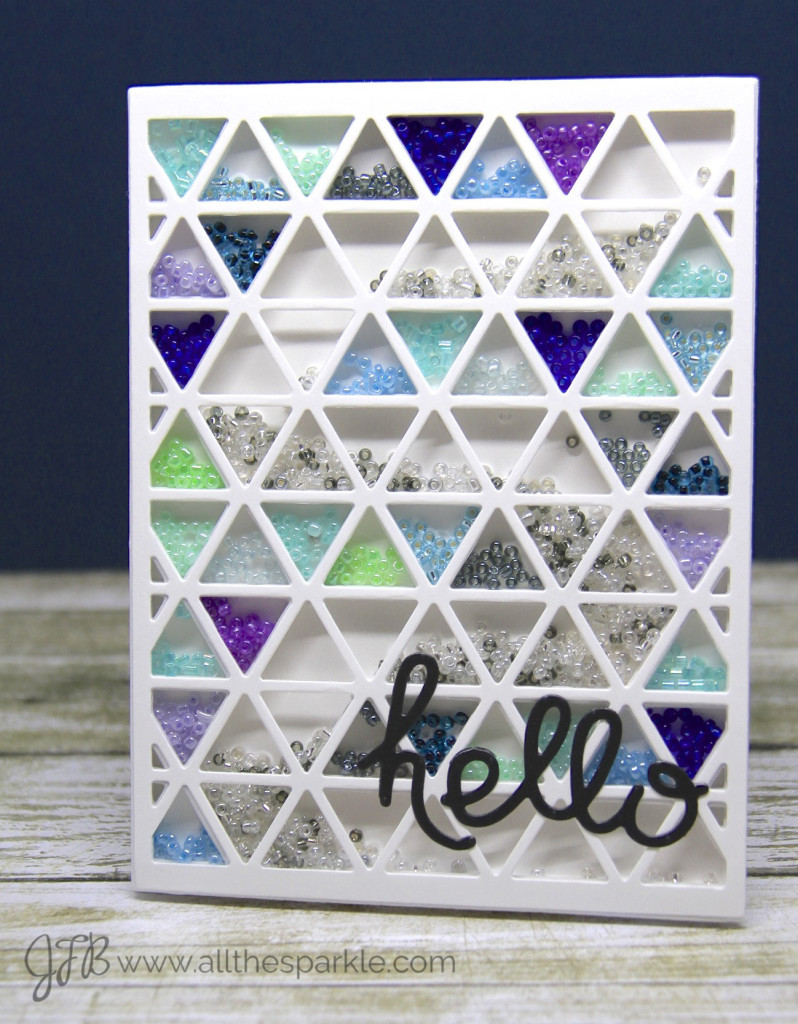
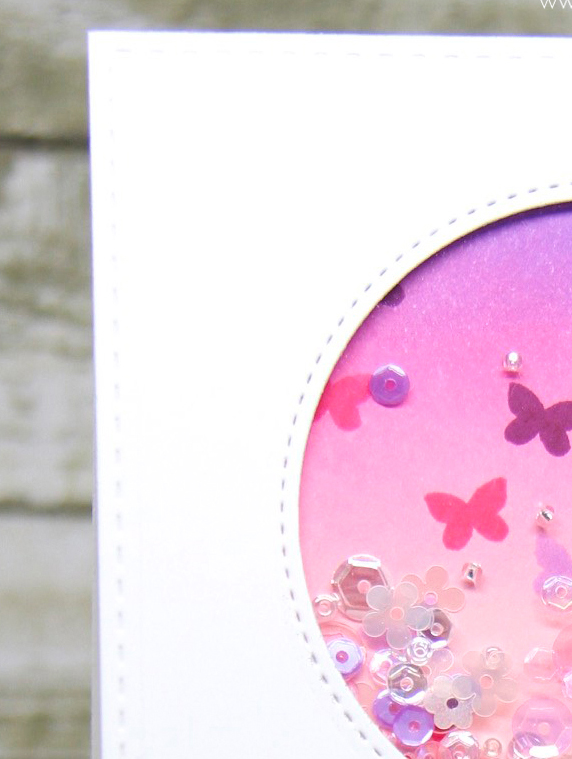
So yesterday morning I was reading through my blog feed as I ate breakfast and I saw this jaw-dropping shaker card from Sandy Allnock…and I knew I had to give it a try! It’s a fun concept and not too difficult to complete although time-consuming. Here’s my first attempt…I know there will be more in the future! 😉
I’m fighting the urge to go buy a bunch of coverplate dies…
Anyway, to start off, I tried a couple different ways of putting this together and finally came up with a way that seemed to work best for me. I didn’t have any of the tiny glass beads that Sandy used so I knew I needed to make my card a little taller. I die-cut the My Favorite Things Triangle Screen die from white cardstock four times and twice from white fun foam. On two pieces of the white cardstock I adhered a piece of stick-it adhesive to one side. Normally I use foam mounting tape on my shaker cards but there was NO way I was going to cut foam tape thin enough to fit around this die.
First I took the piece of white cardstock with stick-it adhesive, removed the adhesive backing, and adhered a piece of acetate to the back. I set that aside while I worked on the shaker portion of the card. I applied tiny dots of glue from my 2-way Zig glue pen to a piece of white cardstock and then adhered a layer of fun foam. I applied more dots of glue to another piece of white cardstock and then adhered that to the fun foam (that glue doesn’t really come out of the pen well on fun foam which is why I layered it with cardstock). I applied more dots of glue to that piece of white cardstock and then added the second layer of fun foam. Finally I applied dots of glue to the last piece of cardstock and adhered that to the fun foam. Then it was time to create the pathway for the moving beads. I traced out a path on the back of the cardstock with a pencil and then carefully cut out the lines. Once the path was created I glued the shaker element to the acetate, put an acrylic block on top of the shaker, and let it dry for a few hours. So my final sandwich was cardstock with stick-it adhesive, acetate, cardstock, fun foam, cardstock, fun foam, cardstock with stick-it adhesive (and then the card base).
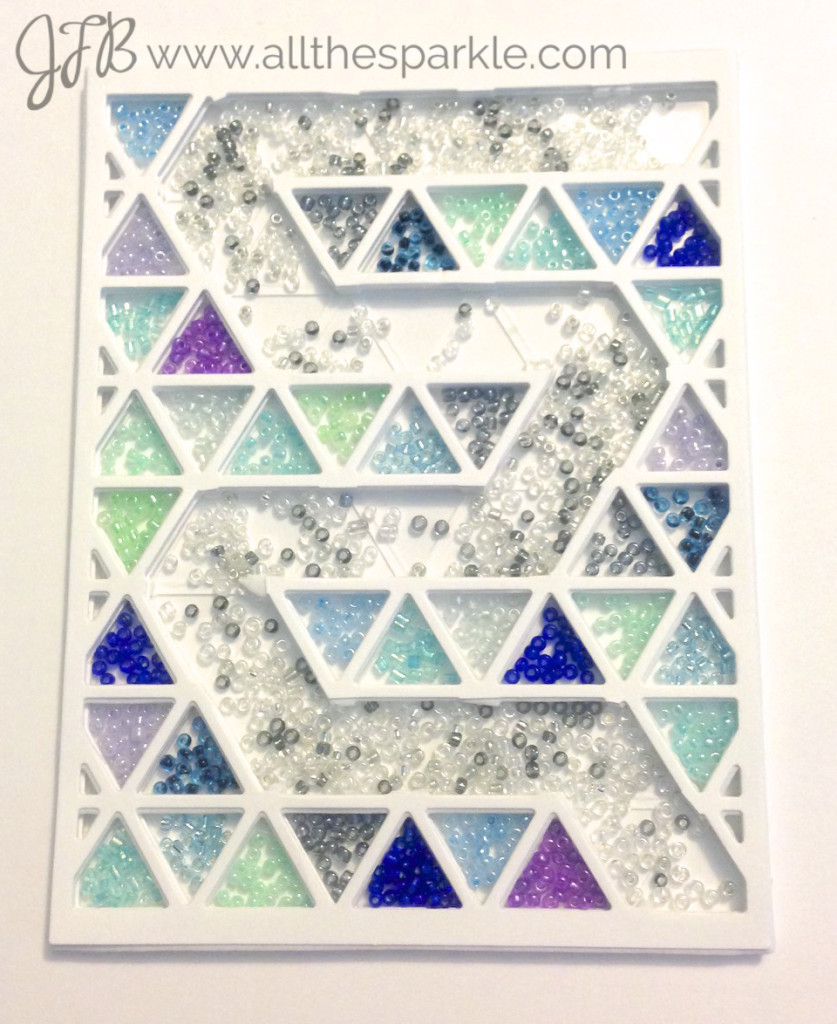
Once the glue was dry it was time to fill the shaker! Originally I was going to just use colored beads for the moving pathway and leave the rest empty but then I thought it might be fun to add colored beads to the additional triangles. I used a mix of green, blue, and purple seed beads from The Ton Stamps for the triangles and then a mix of silver, clear, and white seed beads for the moving pathway. Here’s a look at the back of the card before I sealed it up! You can clearly see the path that the silver, clear, and white beads will travel along to get from the top of the card to the bottom! (I apologize for the photo quality…that’s a quick photo from my iPhone).
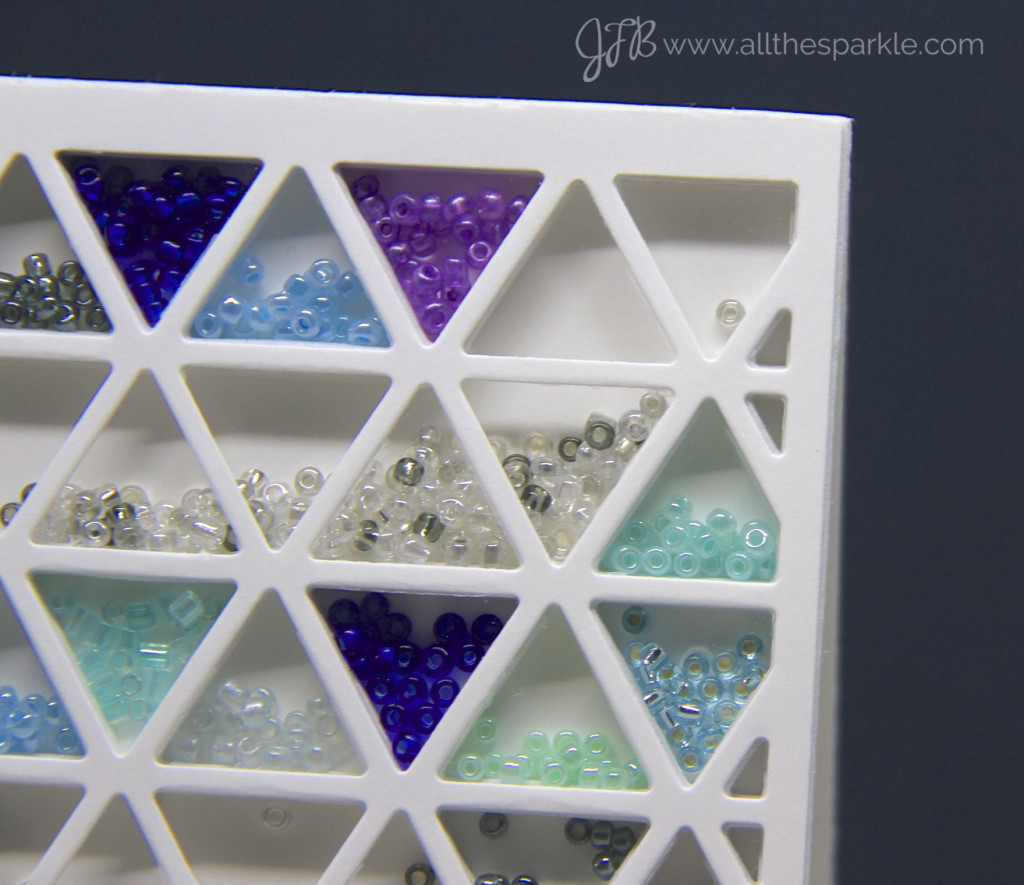
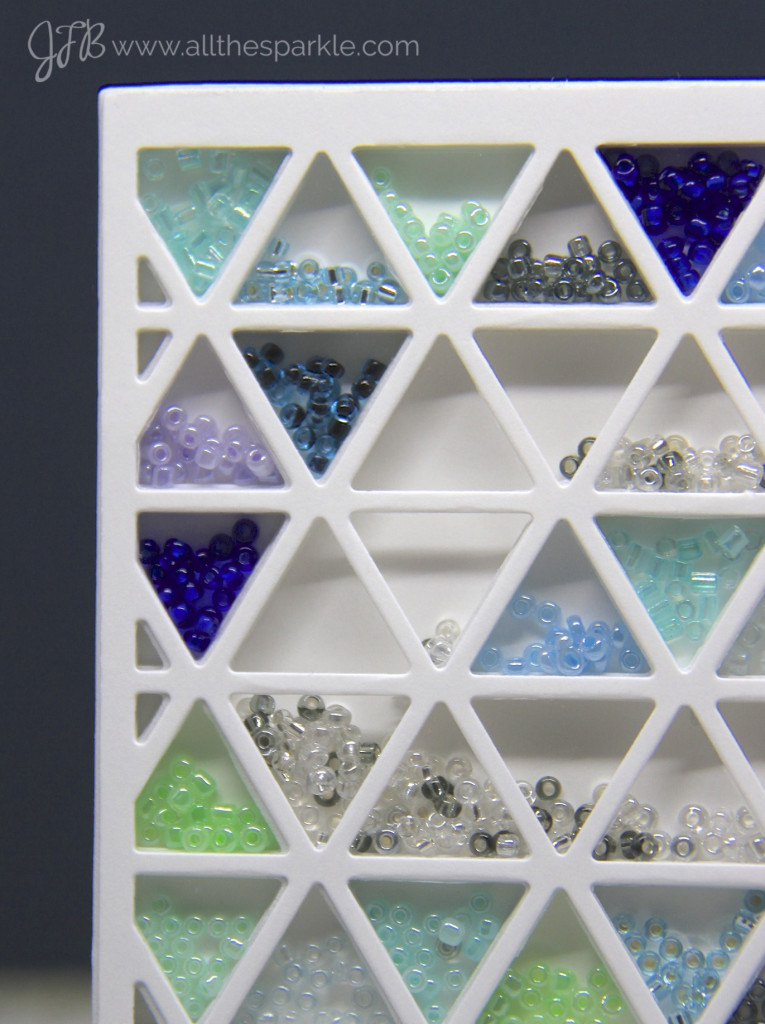
 Next I removed the adhesive backing from the last layer and attached a panel of white cardstock to seal the shaker. I adhered the shaker to a white card base and added a sentiment from Paper Smooches die-cut from black cardstock. I decided not to go crazy with the sentiment as the card is quite busy all on it’s own! Here’s a closer look at some of those gorgeous beads!
 And finally, here’s a brief video showing the beads “in action.” I deliberately filled the triangles with a lot of beads so there wouldn’t be too much movement in each triangle. They move a little but they definitely don’t detract from the wave of beads moving from the top to the bottom of the card! Of course, smaller glass beads would probably give more of a feeling of moving water but oh well….maybe I just need to go buy more beads! 😉
So there you have it…my take on a rain shaker maze card inspired by the amazing Sandy Allnock!! Thanks so much for visiting and have a fabulous day!


I must say, I like yours better! Great job!
STUNNING! !Fun card.
Wonderful job! I love it.
Just so stinking cute! Great job!
I love your card!
This is an amazing card!
i love love love this card!!! and, I’m going to try to recreate it!!!
QUESTION: why didn’t you use stick-it on each piece of cardstock??? i guess front & back? just too much Stick-it???
Judy, thank you! I didn’t use Stick-It on all of the cardstock layers because it tends to stay sticky around the edges and I was afraid that the beads would stick to it instead of shaking around. The Stick-It is really sticky and running my powder bag over it doesn’t always cut down on the stickiness! And, that coverplate die can be used for lots of things but I love it for shakers! Here’s another one I made using the same die: https://www.allthesparkle.com/shaker-saturday-11/
what else can you use this “coverplate” die for?
Love this card!!!! 🙂