Good morning! If you missed my first post on adding sparkle to your cards yesterday just scroll down or click here! I also wanted to just say thanks to all my new blog followers! I really appreciate your support and sweet comments!!
So, in continuing with my goal to share different methods of adding sparkle to your cards, I present a set of cards dedicated to my faithful crafting companion!
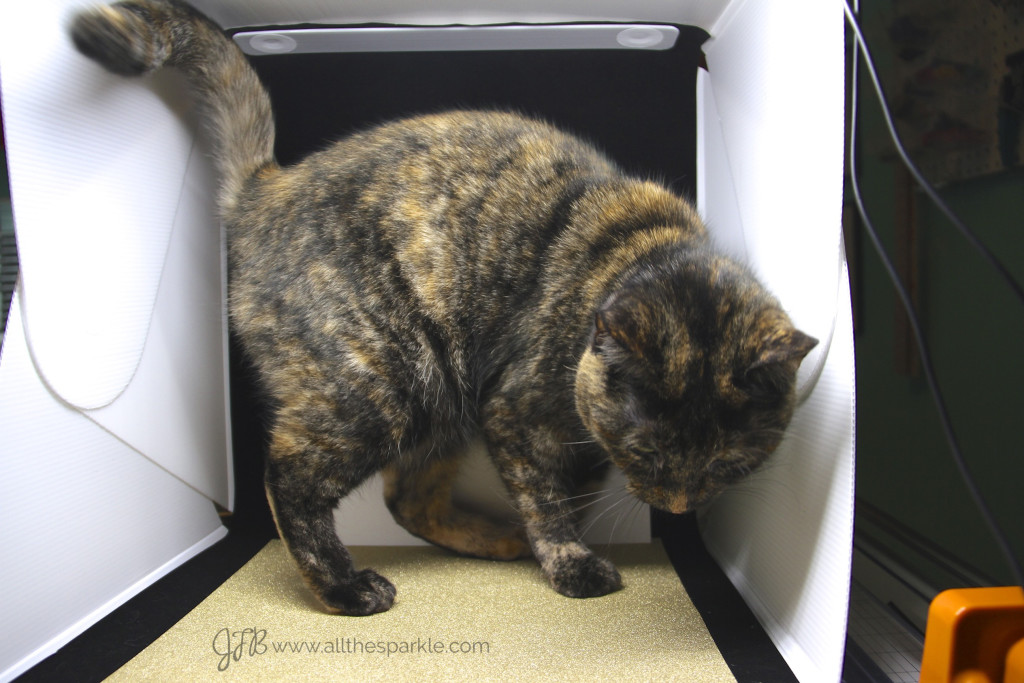
…who insists on trying to live inside my Foldio…
Seriously though…I was watching her sleep in my craft room a few days ago and was amused at how she’s able to sleep pretty much anywhere…perched on a window sill, draped over my Procision trimmer, with her head resting on my Silhouette…
So, here’s how she inspired my design for this set of cards:
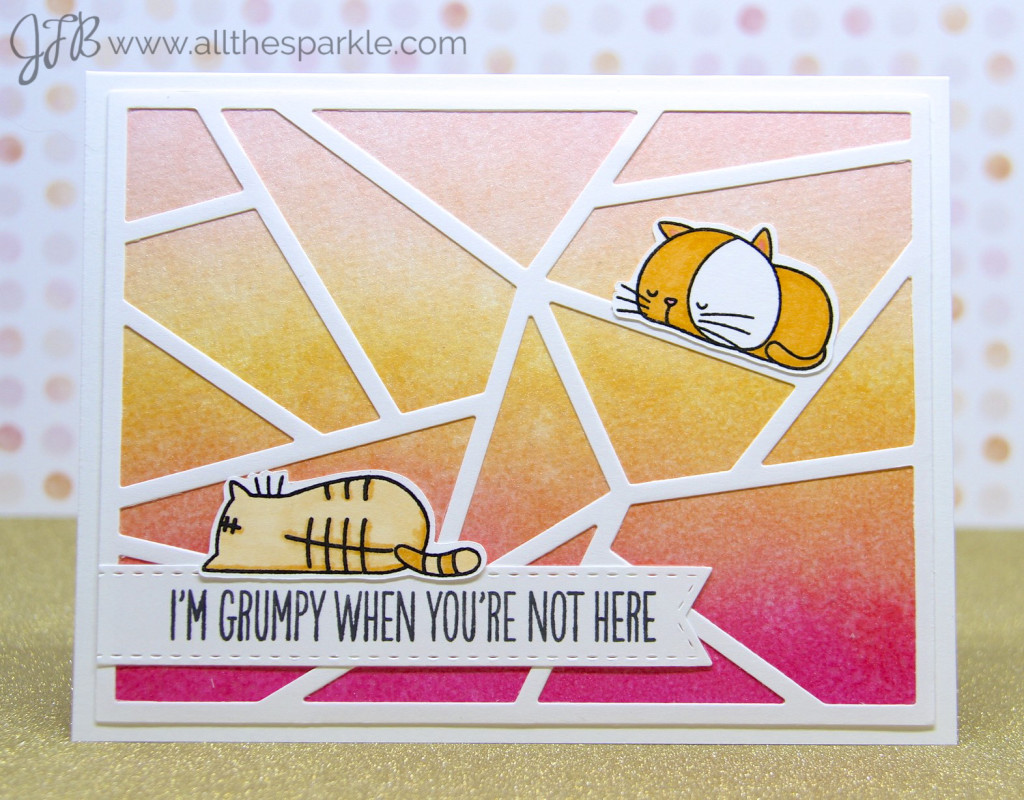
Ha…I still haven’t figured out how to color a tortoiseshell cat with copics so I’m sticking with tabbies… 😉 For my first card I blended distress inks in Spun Sugar, Dried Marigold, and Picked Raspberry onto Canson watercolor paper and let it dry. To add sparkle to this background I covered (read wasted) it with wink of stella clear glitter. It’s hard to see in the photo and up close it barely shows up. Don’t get me wrong…it’s shimmery but it’s not sparkly. I much prefer to use wink of stella in more concentrated doses in smaller applications like a sentiment or small image (like a heart). It’s definitely not financially worth it to use wink of stella on a large area.
 To complete the card I stamped several sleeping cats from the My Favorite Things I Knead You stamp set and colored them with copic markers. I was originally planning on creating a shaker using the Abstract cover die but I was not having a good day with my foam mounting tape…I finally decided that it was a hint to not do a shaker and instead used the die to give my cats various resting places. I stamped the sentiment from I Knead You on the Stitched Fishtail Banners from My Favorite Things and adhered it to the card with foam mounting tape.
My second card follows a similar layout but uses cooler colors.
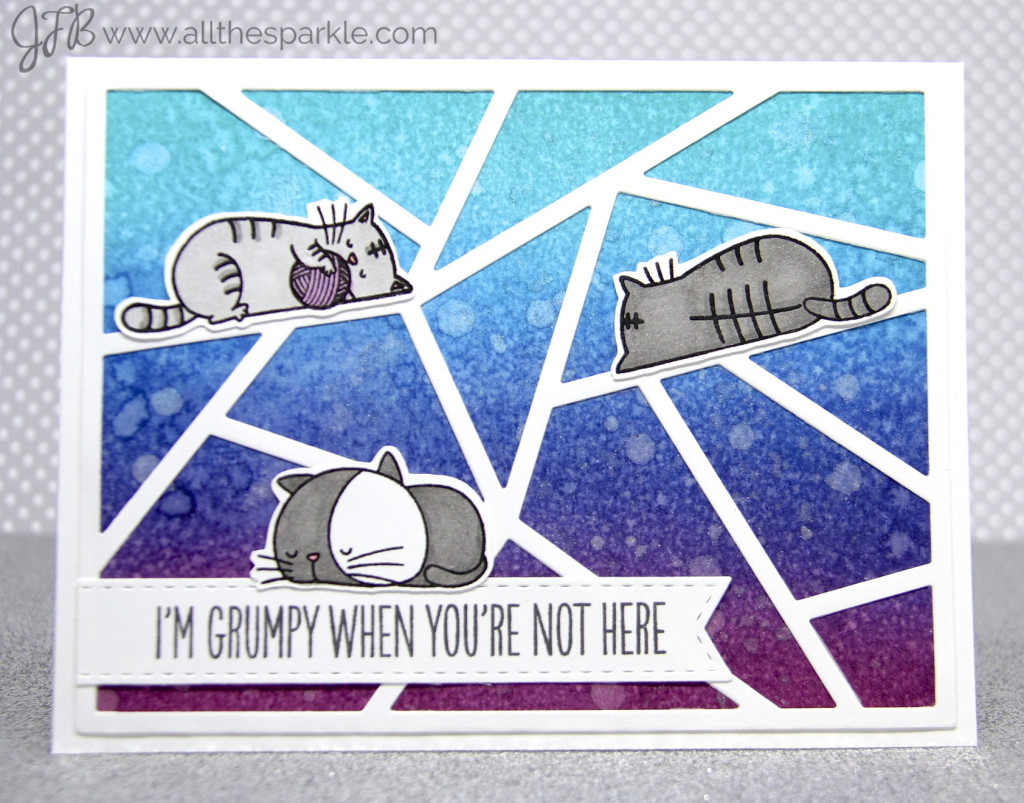
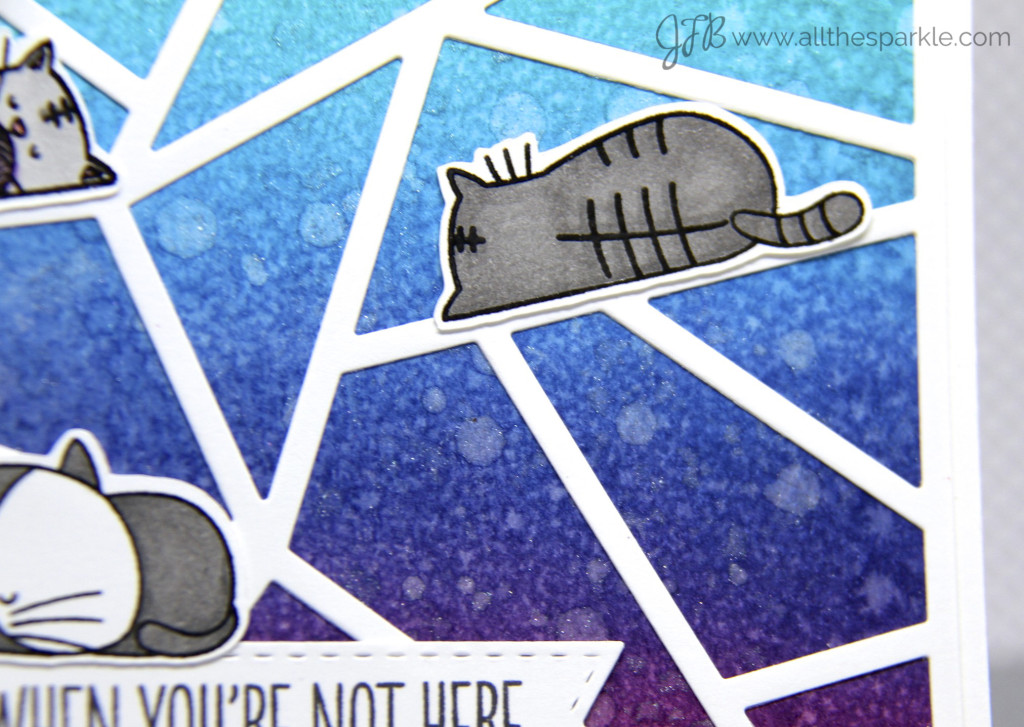
For this card I blended Salty Ocean, Chipped Sapphire, and Seedlesss Preserves distress ink onto watercolor paper and then spritzed it with the Tsukineko Frost spray. I also flicked some of the spray onto the paper for the larger droplets. After letting it sit for about 30 seconds I used a paper towel to blot off the large droplets and then let it air dry. This is definitely sparklier than the first card and I like that the whole background is slightly shimmery and there are little pieces of glitter scattered throughout.
My next card is probably the most shimmery but the least sparkly…if that makes sense…
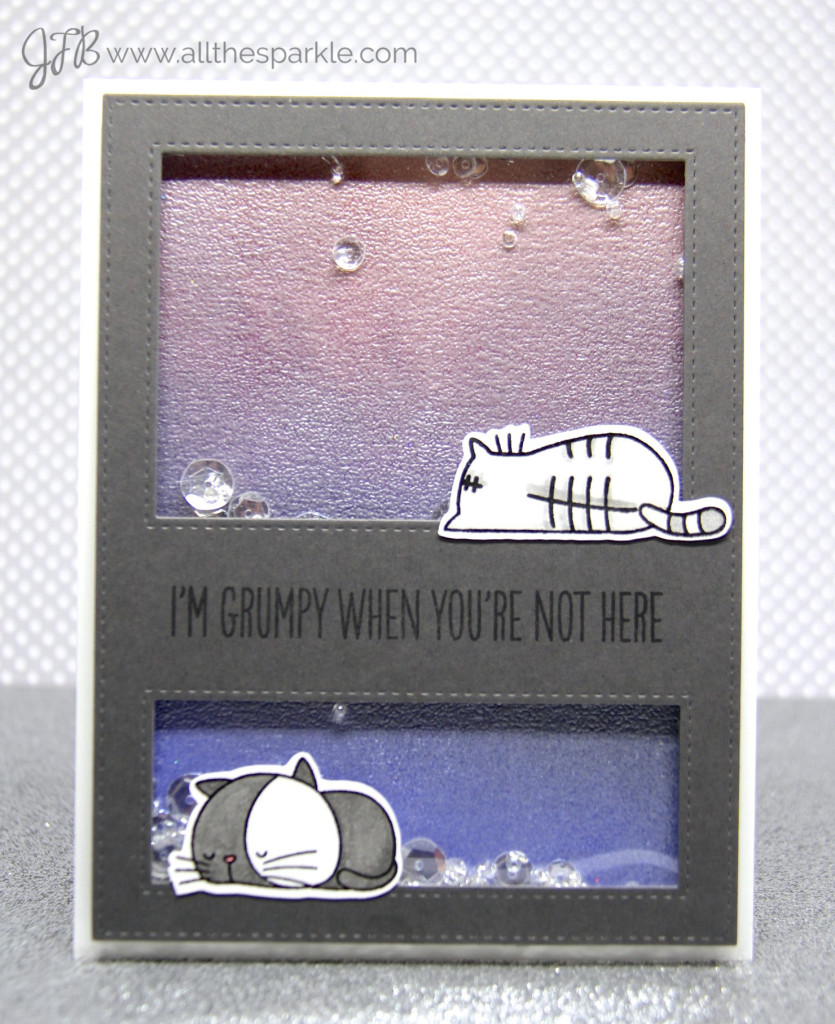
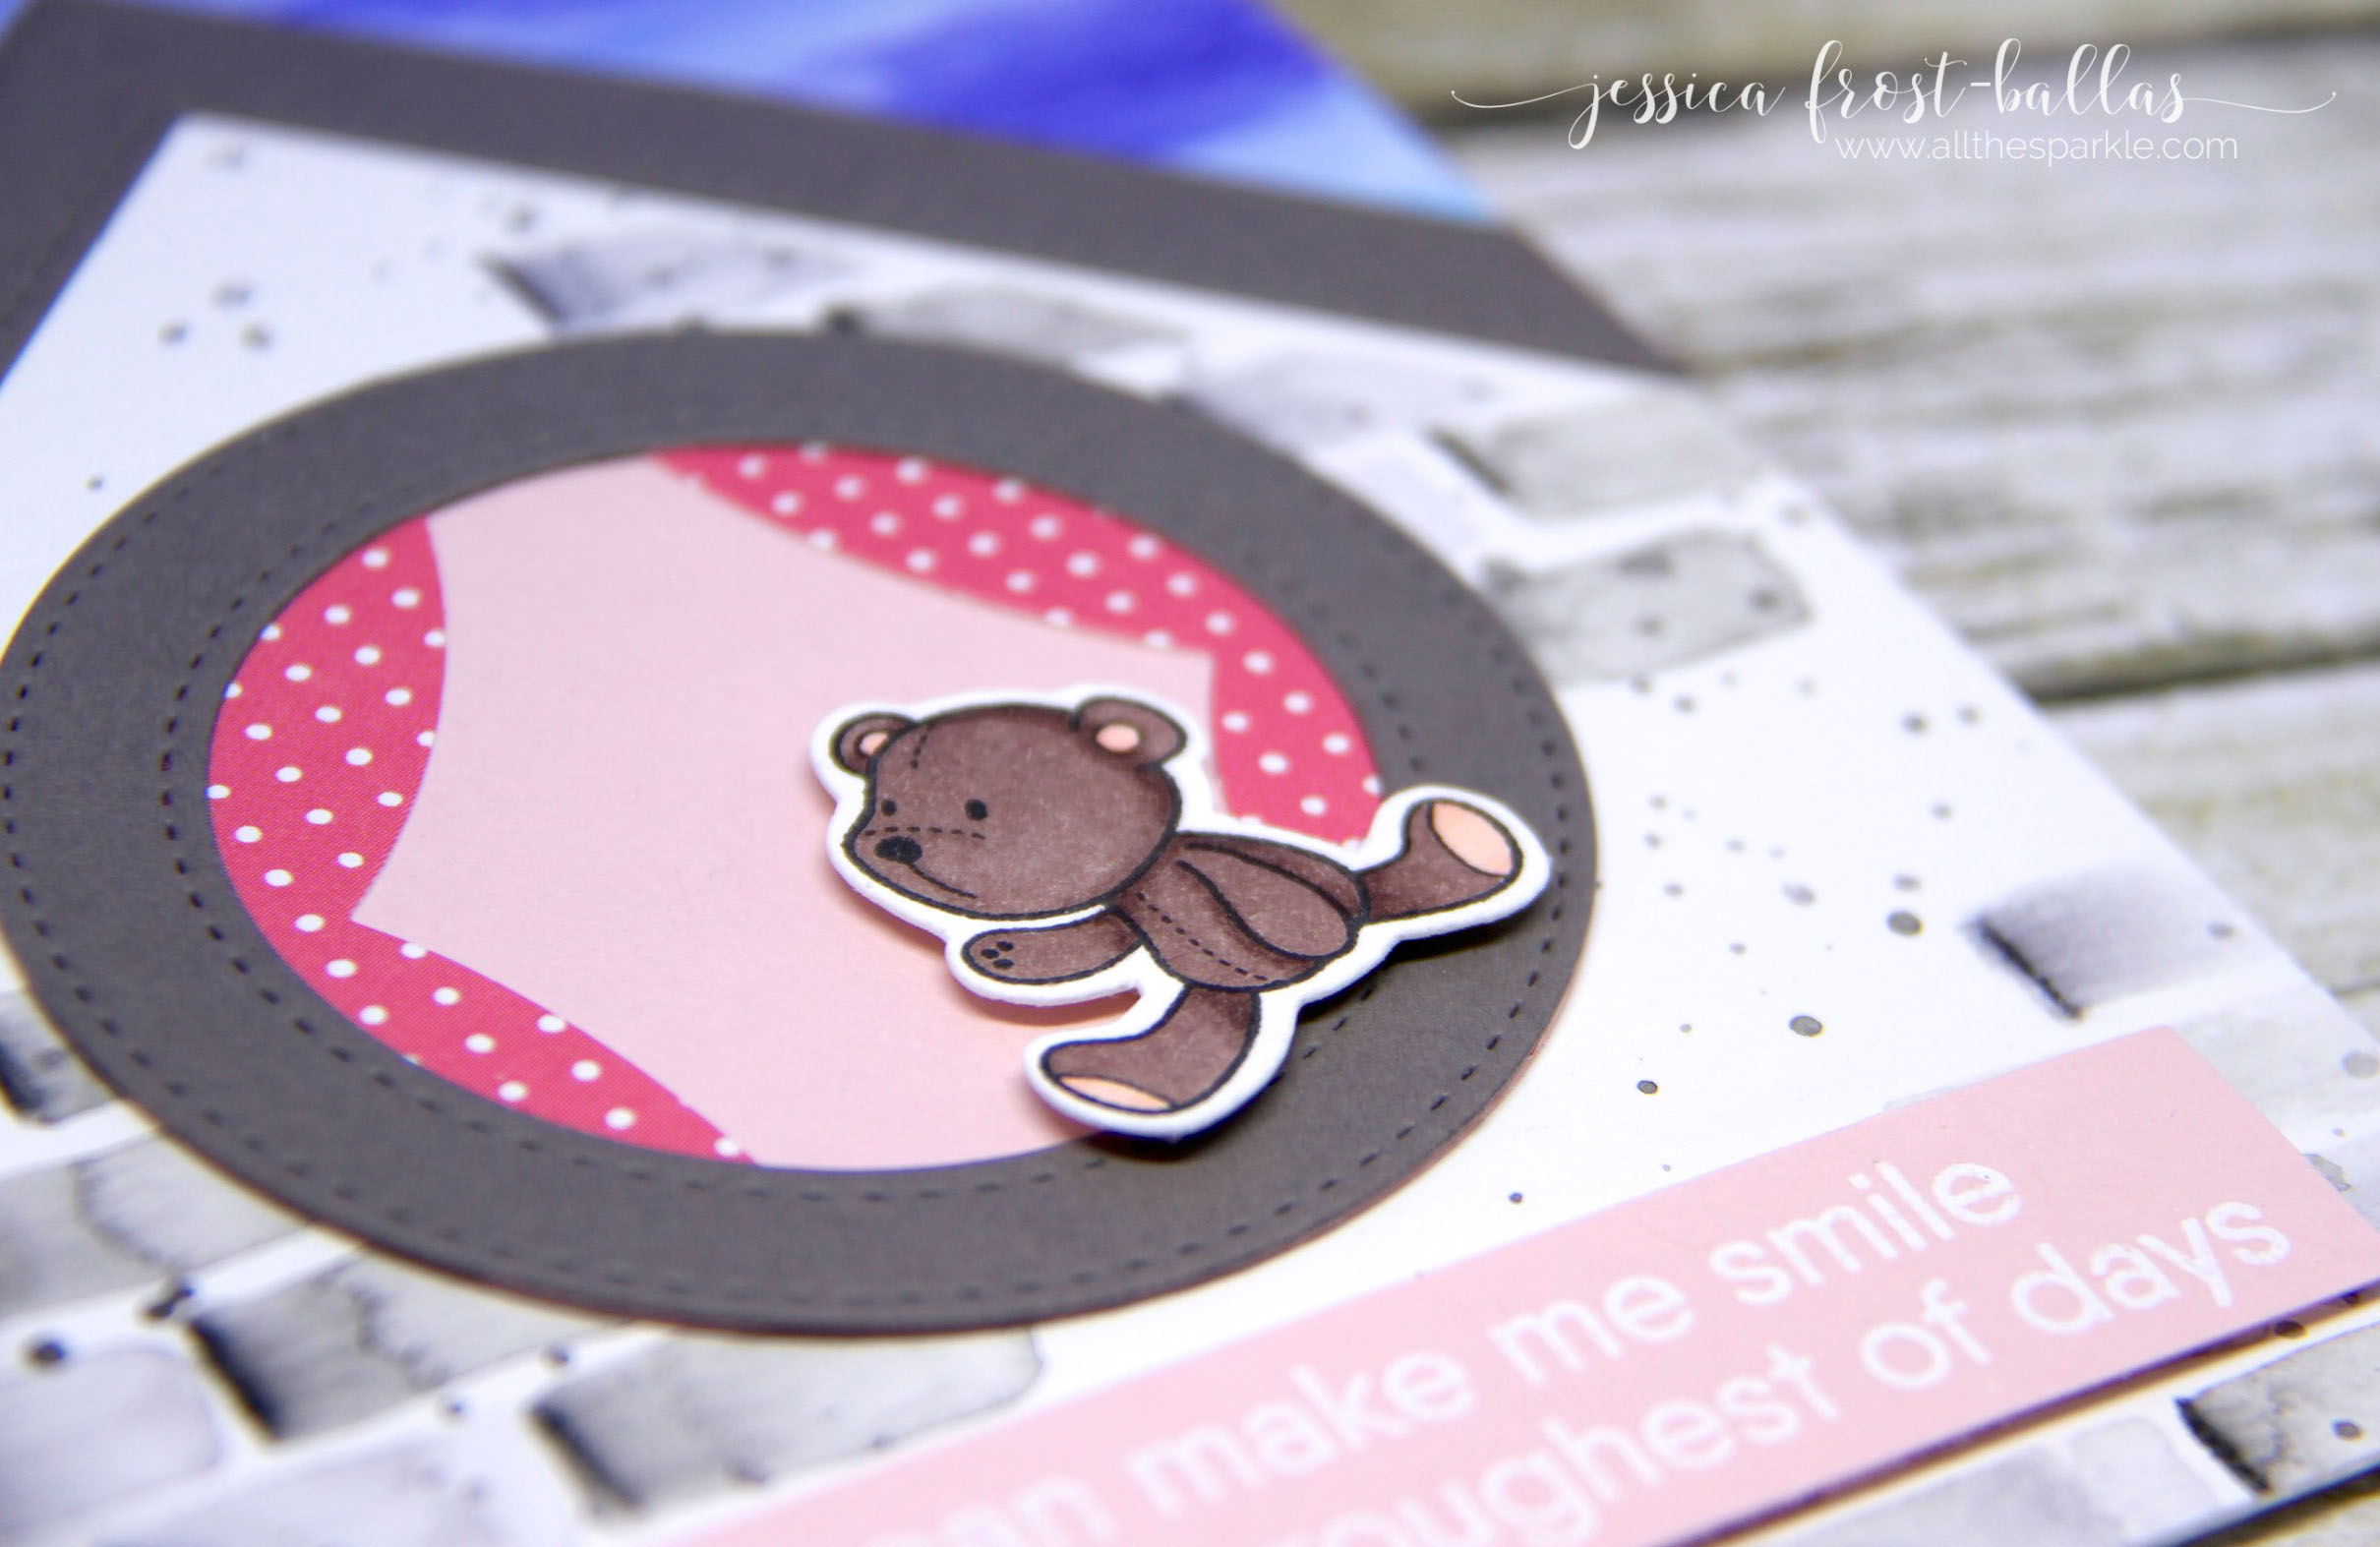
This was actually a total experiment…it turned out well in this case but not so well in another card attempt. I started off by blending distress inks in Victorian Velvet, Aged Mahogany, Dusty Concord, and Shaded Lilac onto watercolor paper…you can’t really see the Dusty Concord as it’s covered by the sentiment strip but you can see how it blended into the colors above and below it. I loved my glittery embossing powder background from yesterday’s card and decided to see what would happen with Wow Silver Pearl embossing powder. I stamped versamark all over the background and then applied the silver pearl embossing powder. It created a really pretty background but really muted the color of the distress inks. In fact, my other card using warmer colors was way too muted by the embossing powder. So I like this effect but I’d recommend it only with darker distress inks. I did create a shaker card using the Vertical cover-up die from my Favorite Things and added sparkly clear and silver beads and sequins.
For my last card I followed a similar layout but used warmer colors in a diagonal design:
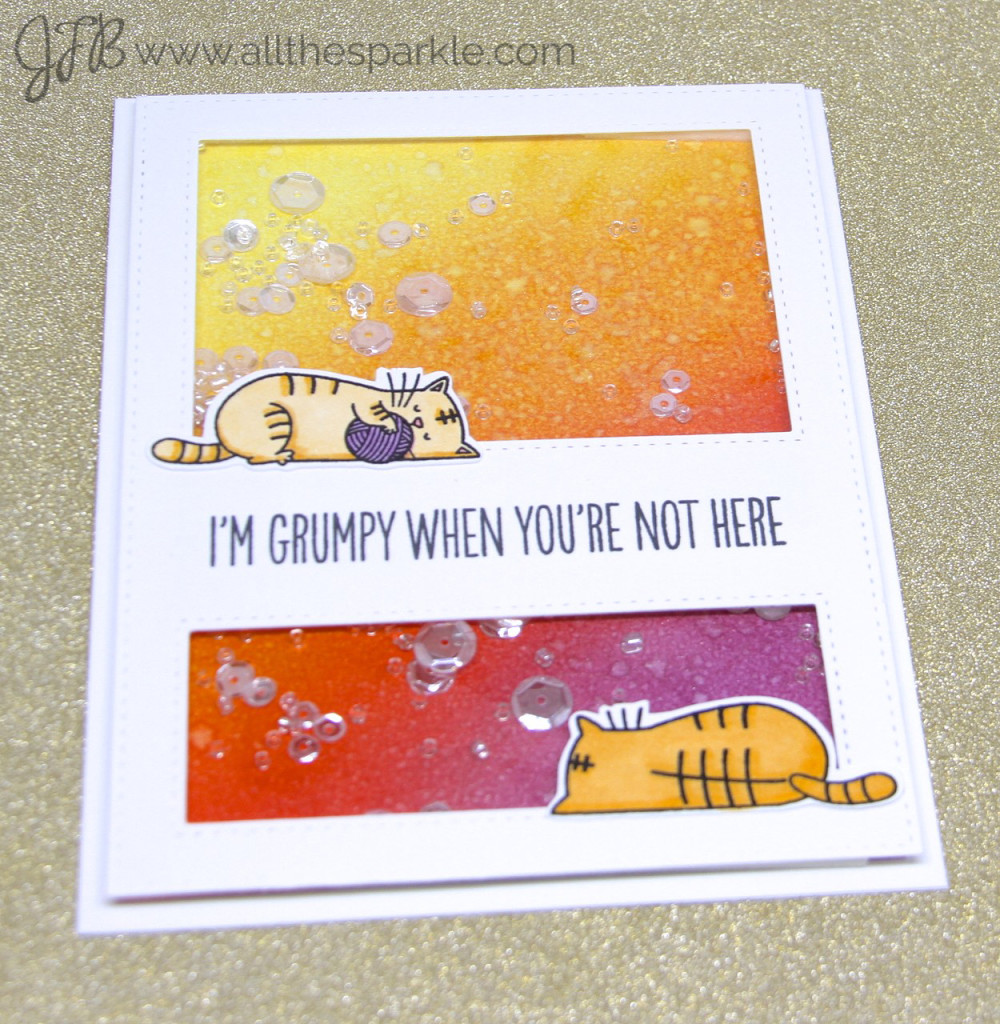
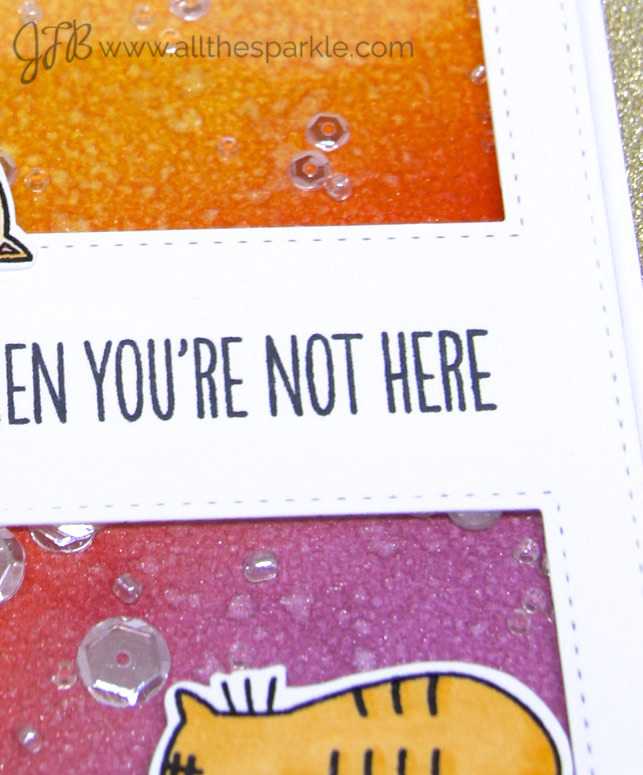
For this card I blended Squeezed Lemonade, Spiced Marmalade, Festive Berries, and Seedless Preserves distress inks onto watercolor paper. Once the panel was dry I spritzed it with a blend of water and perfect pearls. It created a soft shimmer with teeny tiny specks of glitter.
So there’s my second installment…thanks so much for visiting! Tomorrow I’ll have one last group of cards using some slightly non-traditional methods of adding sparkle to your cards! I’d love to know what you’re thinking? Do you have a favorite method so far? Anything else you’d like to see me try?
Supplies:


Wow, all of these sparkly cards are gorgeous! I started at the fourth post in the series (which a Ken Oliver Facebook post sent me to) and then wound my way into installments 1 and 2. I am so glad I found this information, and so grateful to you for blogging all these techniques in one place. Did I say WOW?