Don’t forget to enter my 2nd Blogiversary Giveaway for a chance to win $50 to the crafty store of your choice! You can find that post by clicking here!
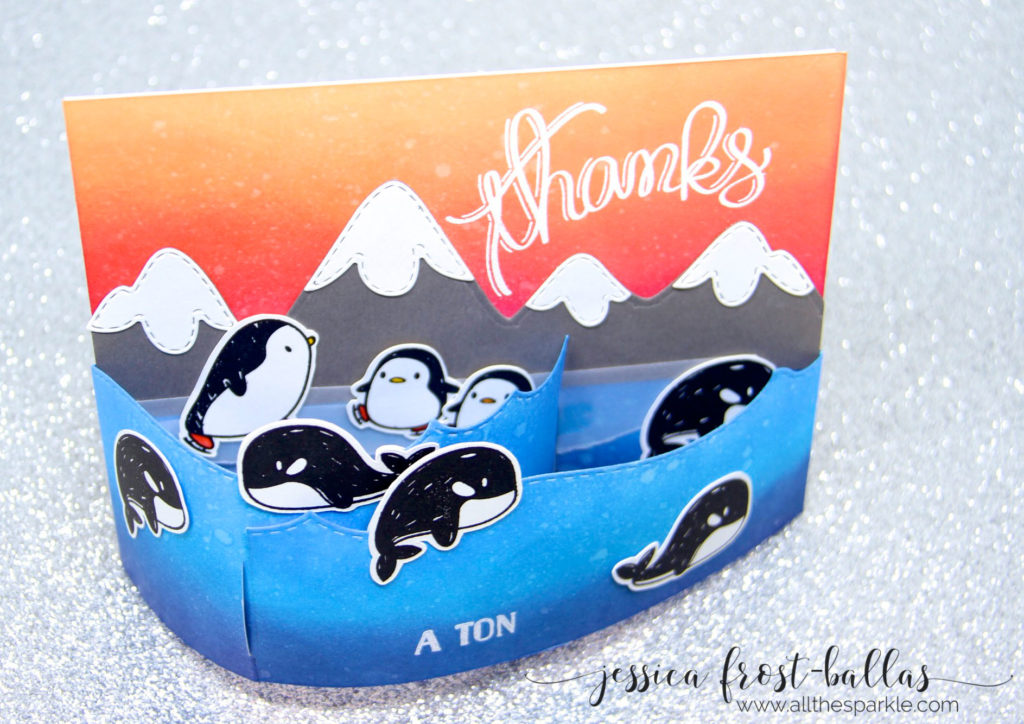
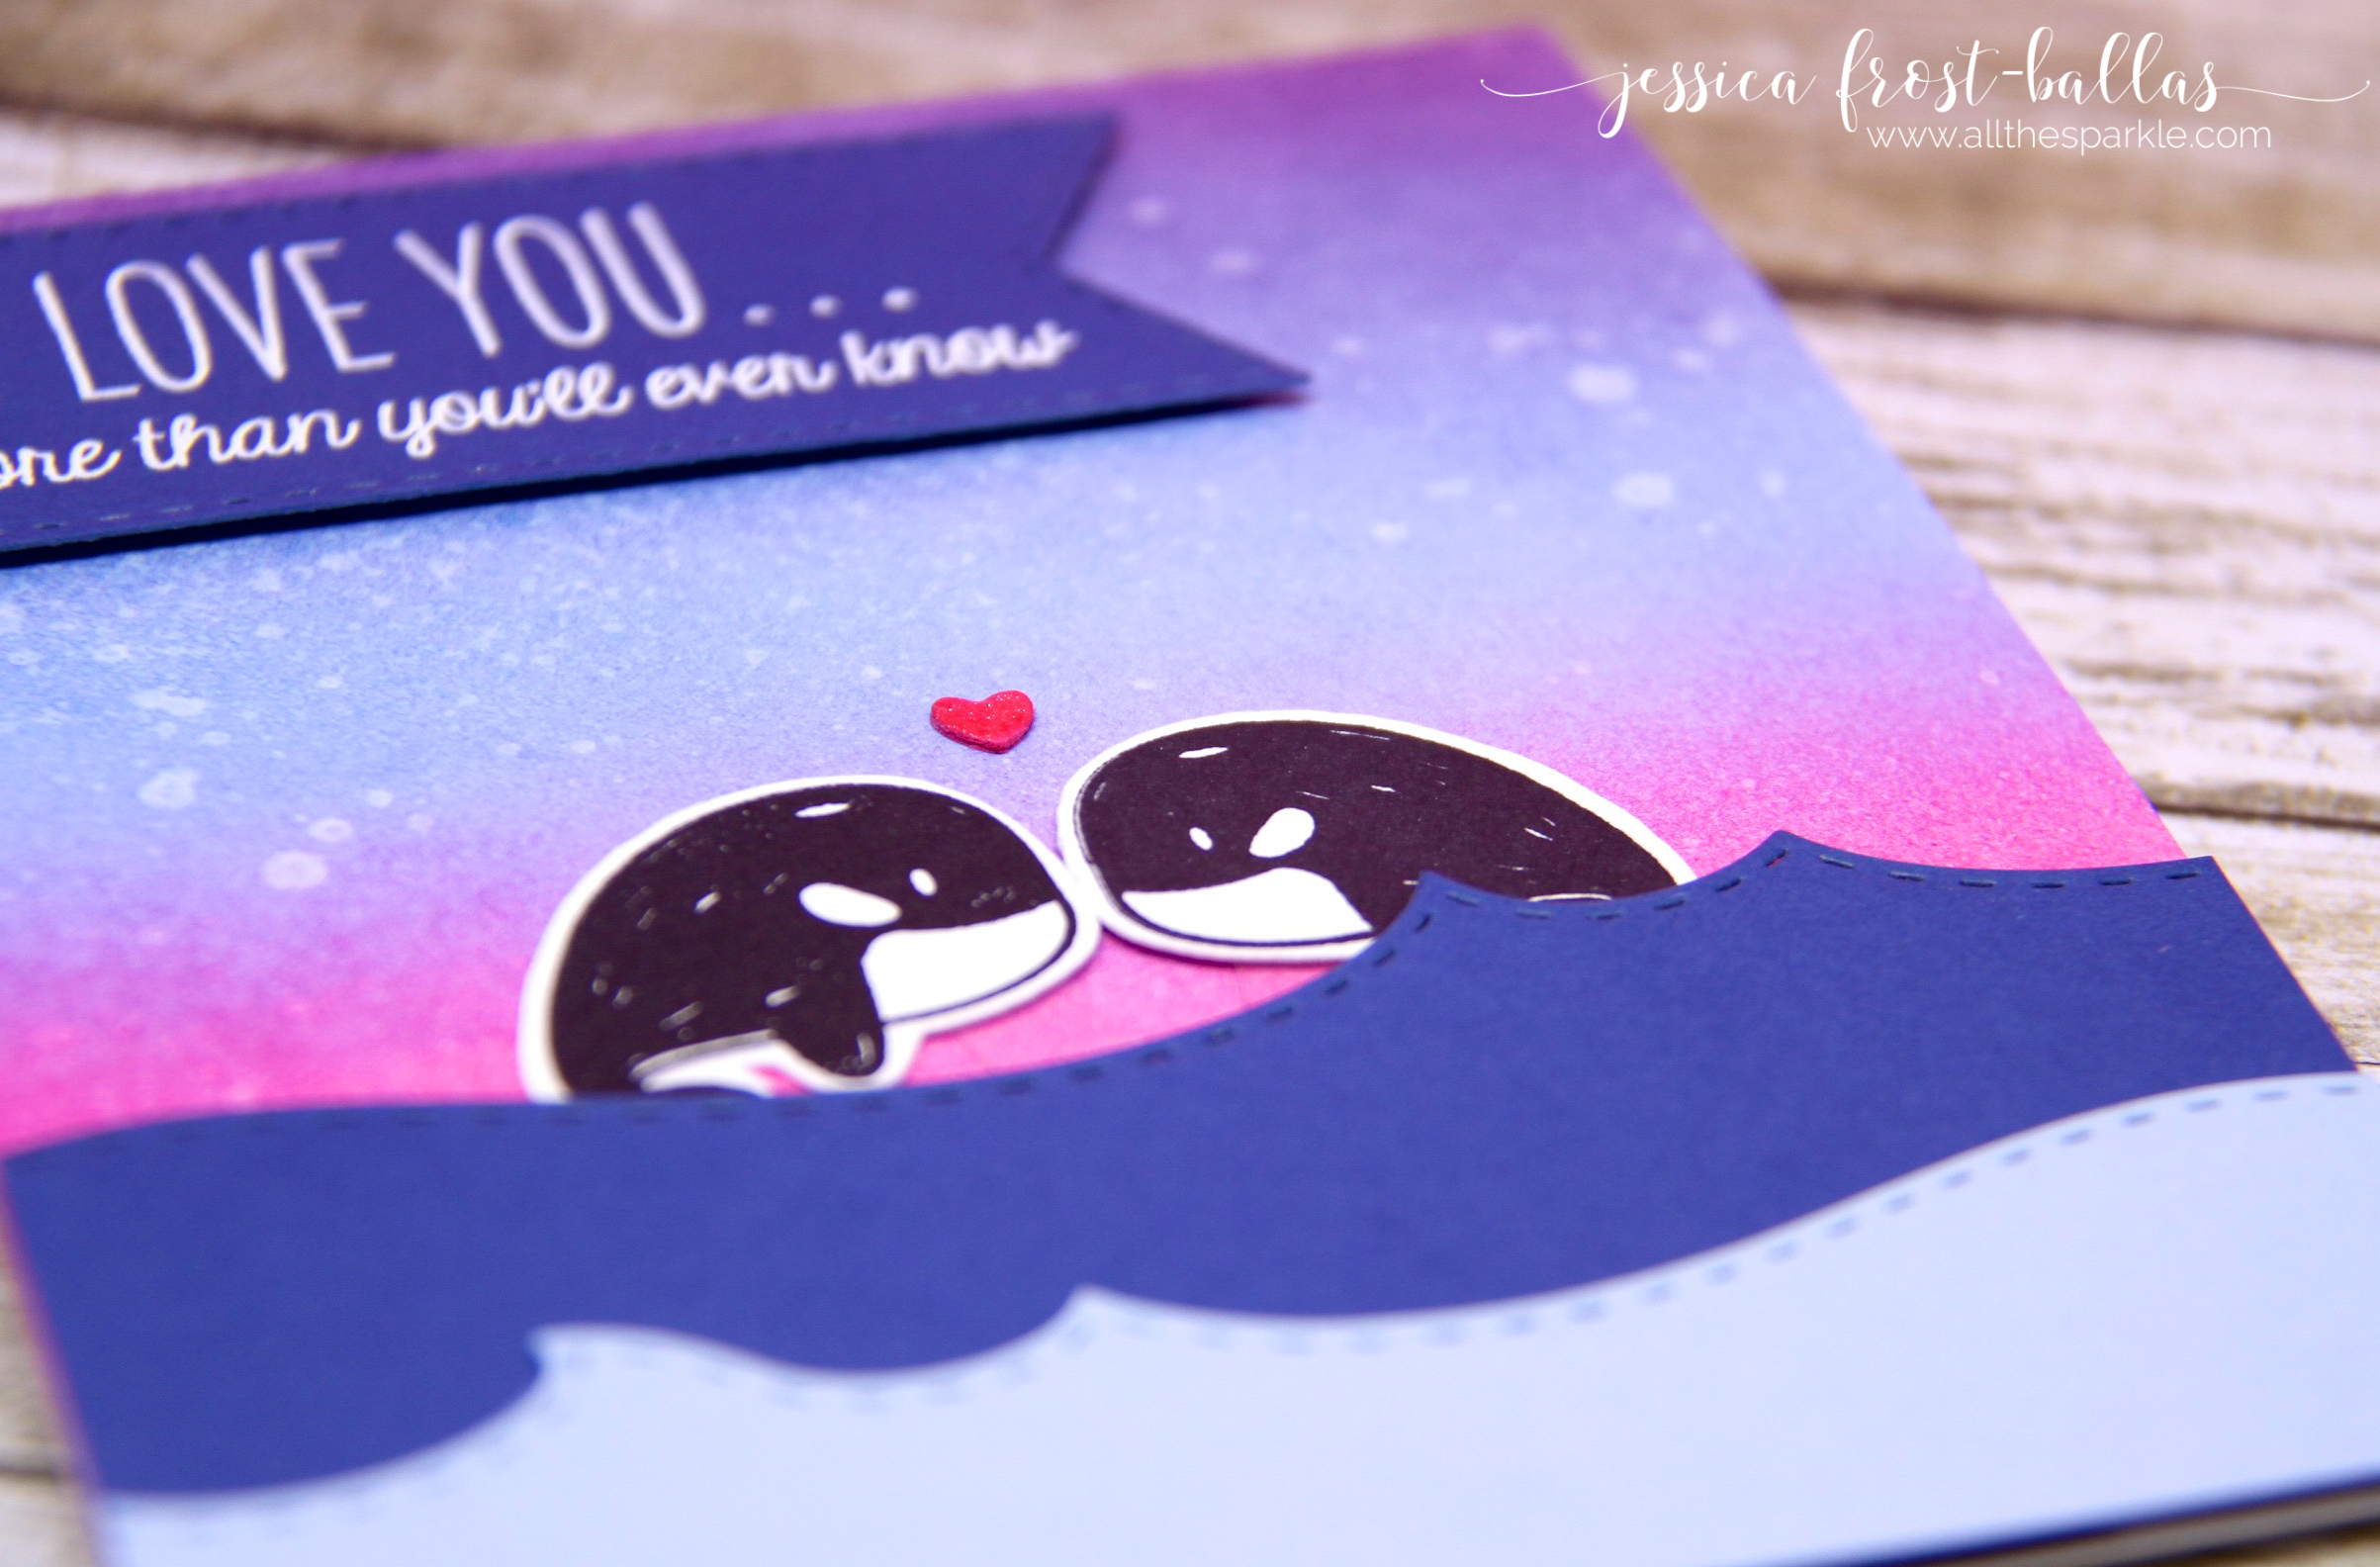
Good morning! I recently discovered Bendi Cards over on SplitCoastStampers and I couldn’t wait to give one a try! I thought the adorable whales and penguins from Mama Elephant would make a fun scene! 😉 I’ll forewarn you that it’s probably easiest to watch the video to understand the process. I’ll try to explain it but I think it’s easier with a visual! 😉
You can watch the video right here on my blog or click here to watch it on YouTube in HD!
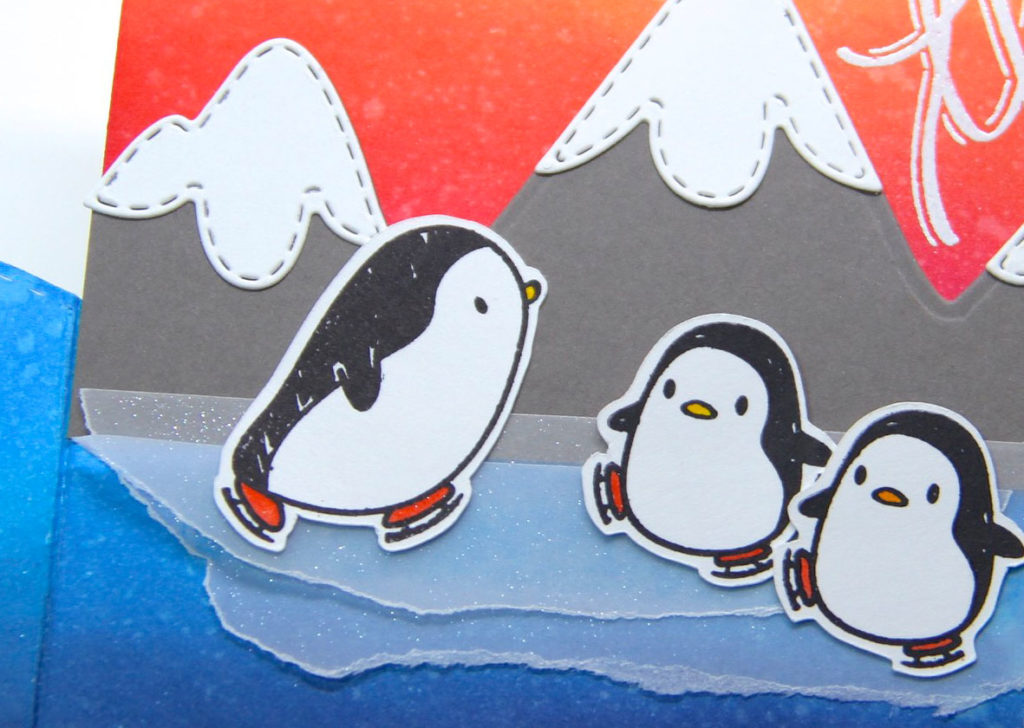
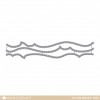
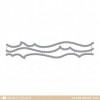
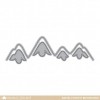
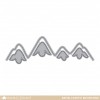
To start, I die-cut the curved wave panels using the Ocean Waves trio. The taller wave is approximately 2 inches tall and the shorter wave is 1.5 inches tall. Then I blended Chipped Sapphire, Mermaid Lagoon, and Salty Ocean distress ink on both sides of each wave. I masked off the top half of a horizontally-oriented A2-sized background panel and blended the same distress inks onto the bottom half. Next I masked off the bottom half of the background panel and blended Picked Raspberry, Abandoned Coral, and Dried Marigold distress inks onto the top half to create the sky. I removed the masks and spritzed the background panel and both sides of each wave with water to create texture. Then I die-cut the Snow-Capped Mountains with grey and white cardstock and adhered them over the horizon line of the background panel. I tore a piece of vellum to resemble an iceberg and adhered it to the bottom of the mountain and the water with vellum adhesive. I covered the iceberg with spectrum noir clear sparkle for a little extra shimmer!
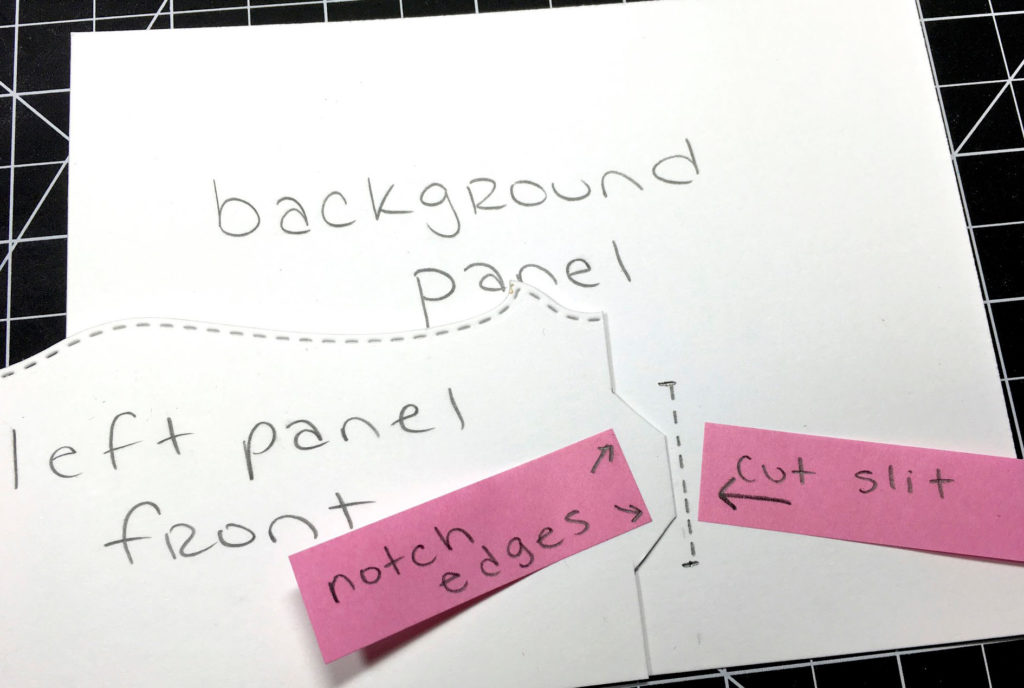
Next I scored a vertical line a 1/4″ from the right side of the left wave panel and the left side of the right wave panel. This is where the panels will attach to the background panel. Then I made a small mark a 1/4″ on the opposite side of each wave panel. I drew a vertical line down the wave panel using that 1/4″ mark as a guide. Then I sketched a notch on that end and fussy cut it. In the photo below you can see the two wave panels with a scored edge on one side and a notch on the other side.
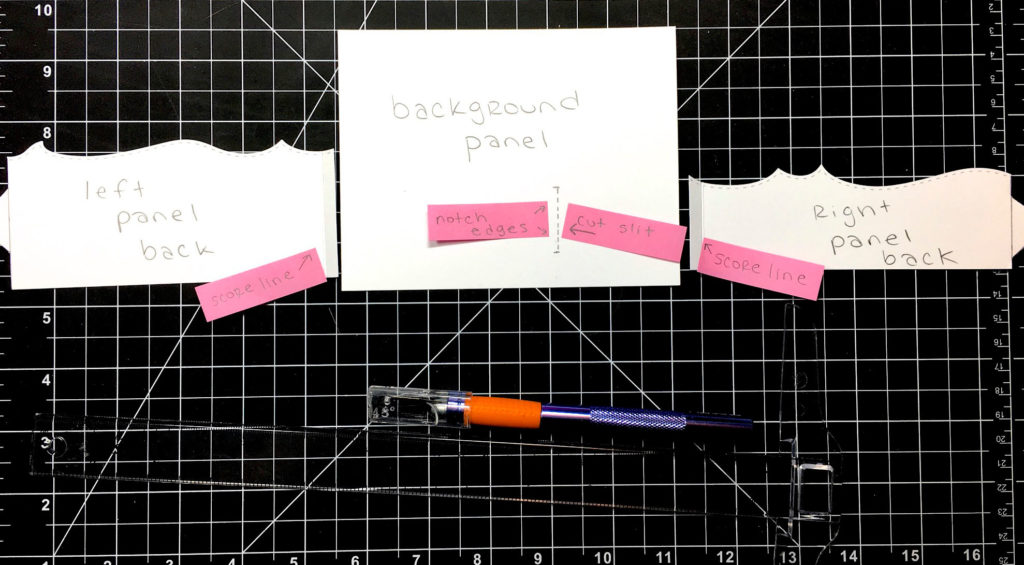
Next I made a mark 2 inches from the right side of the background panel. I laid the taller wave panel on the card and marked both edges of the notch. I drew a line connecting the edges of the notch and then used a craft knife to cut along that line, creating a slit for my notch. On the taller wave panel I made another mark 2 inches from the left side of the wave panel and then followed the same process, lining up the shorter wave panel to mark the notches.
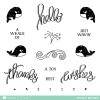
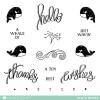
I added adhesive to the scored flaps and adhered the wave panels to the background panel. I prepped the background panel with my powder tool and then stamped the sentiment from Whale Wishes with versamark and heat-embossed it with white embossing powder. I stamped part of the sentiment on the background panel and part on the front of the shorter wave panel.
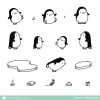
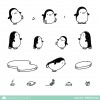
Then it was critter time! I stamped a bunch of penguins and orcas from Arctic Penguins and Whale Wishes on white cardstock and then used my ScanNCut to cut them out. I colored the penguins’ ice skates and beaks with copic markers and added a little spectrum noir clear sparkle to the ice skates. I adhered the critters using my ATG gun and scattered them all over my card. I love that the whale set features mirrored images because it allows me to adhere them back to back so that they can poke out from the top of the waves and be seen from both sides. Once all my critters were in place I adhered the background panel to a card base! And that was it!
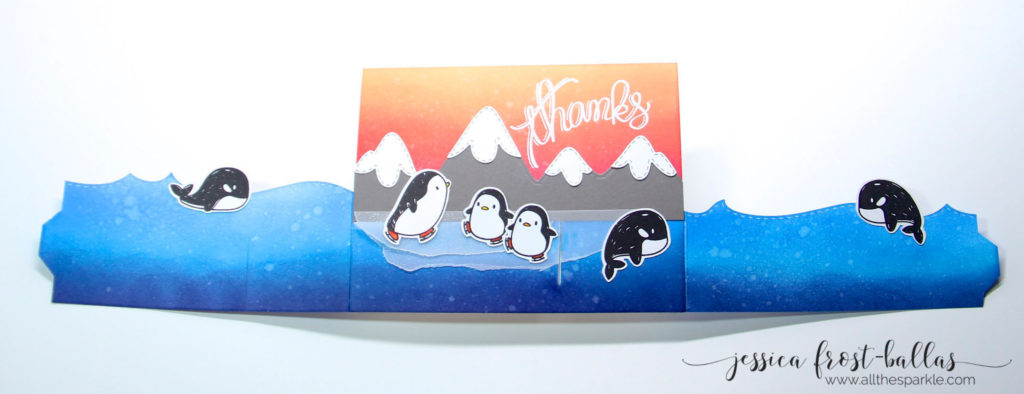
To create the 3-dimensional effect, I tucked the notch on the taller wave panel into the slit on the background panel and then tucked the notch on the shorter wave panel into the slit on the taller wave panel. It’s such a fun way to present a scene and there are tons of ways you could customize it and change things up! Next week I’m sharing a bendi card that uses a shaker for one panel! 😉 And the best thing about the bendi card is that you can pull the notches out of the slits so that the card folds flat for mailing!
I hope you enjoyed my card and that the process was understandable. If you have any questions please feel free to ask and I’ll try to help you! Thanks so much for visiting and have a fabulous day!!
 Interested in the products I used? To make them easy for you to find, I have listed them below. (Affiliate disclosure can be found here). Your purchases help keep my blog running and I thank you for the support!)


This is awesome! I love it! Would love to try to make this style!
So ccool and clever and ca-hute!!!
A-mazing!!!! Gorgeous card!
This is terrific!! Thanks for the tutorial… bookmarking for future reference… I want to try this some day!
Oh my goodness – this is so cool!! You are so clever and this is just wonderfully delightful!! Love the fun scene you have created!!
Brilliant…just plain brilliant, This is such an amazingly fun card.
OH…. this is so cute and cool! Thank you for the tutorial, Jess!
Very cute card!! love all the coloring as well.
Hey Jess ~ This card is adorable and you absolutely picked the perfect stamp set to use for a bendy card. Love it! Off to watch your video. Thanks for sharing.